To help myself build some skill with my new CNC machine, I decided to create some personalized cornhole boards as a housewarming gift for some relatives. My wife and I usually go tailgating at Michigan State at least once a football season, and one pastime is cornhole (it has a lot of different names), so this Spartan themed set was a perfect opportunity.
Table of Contents
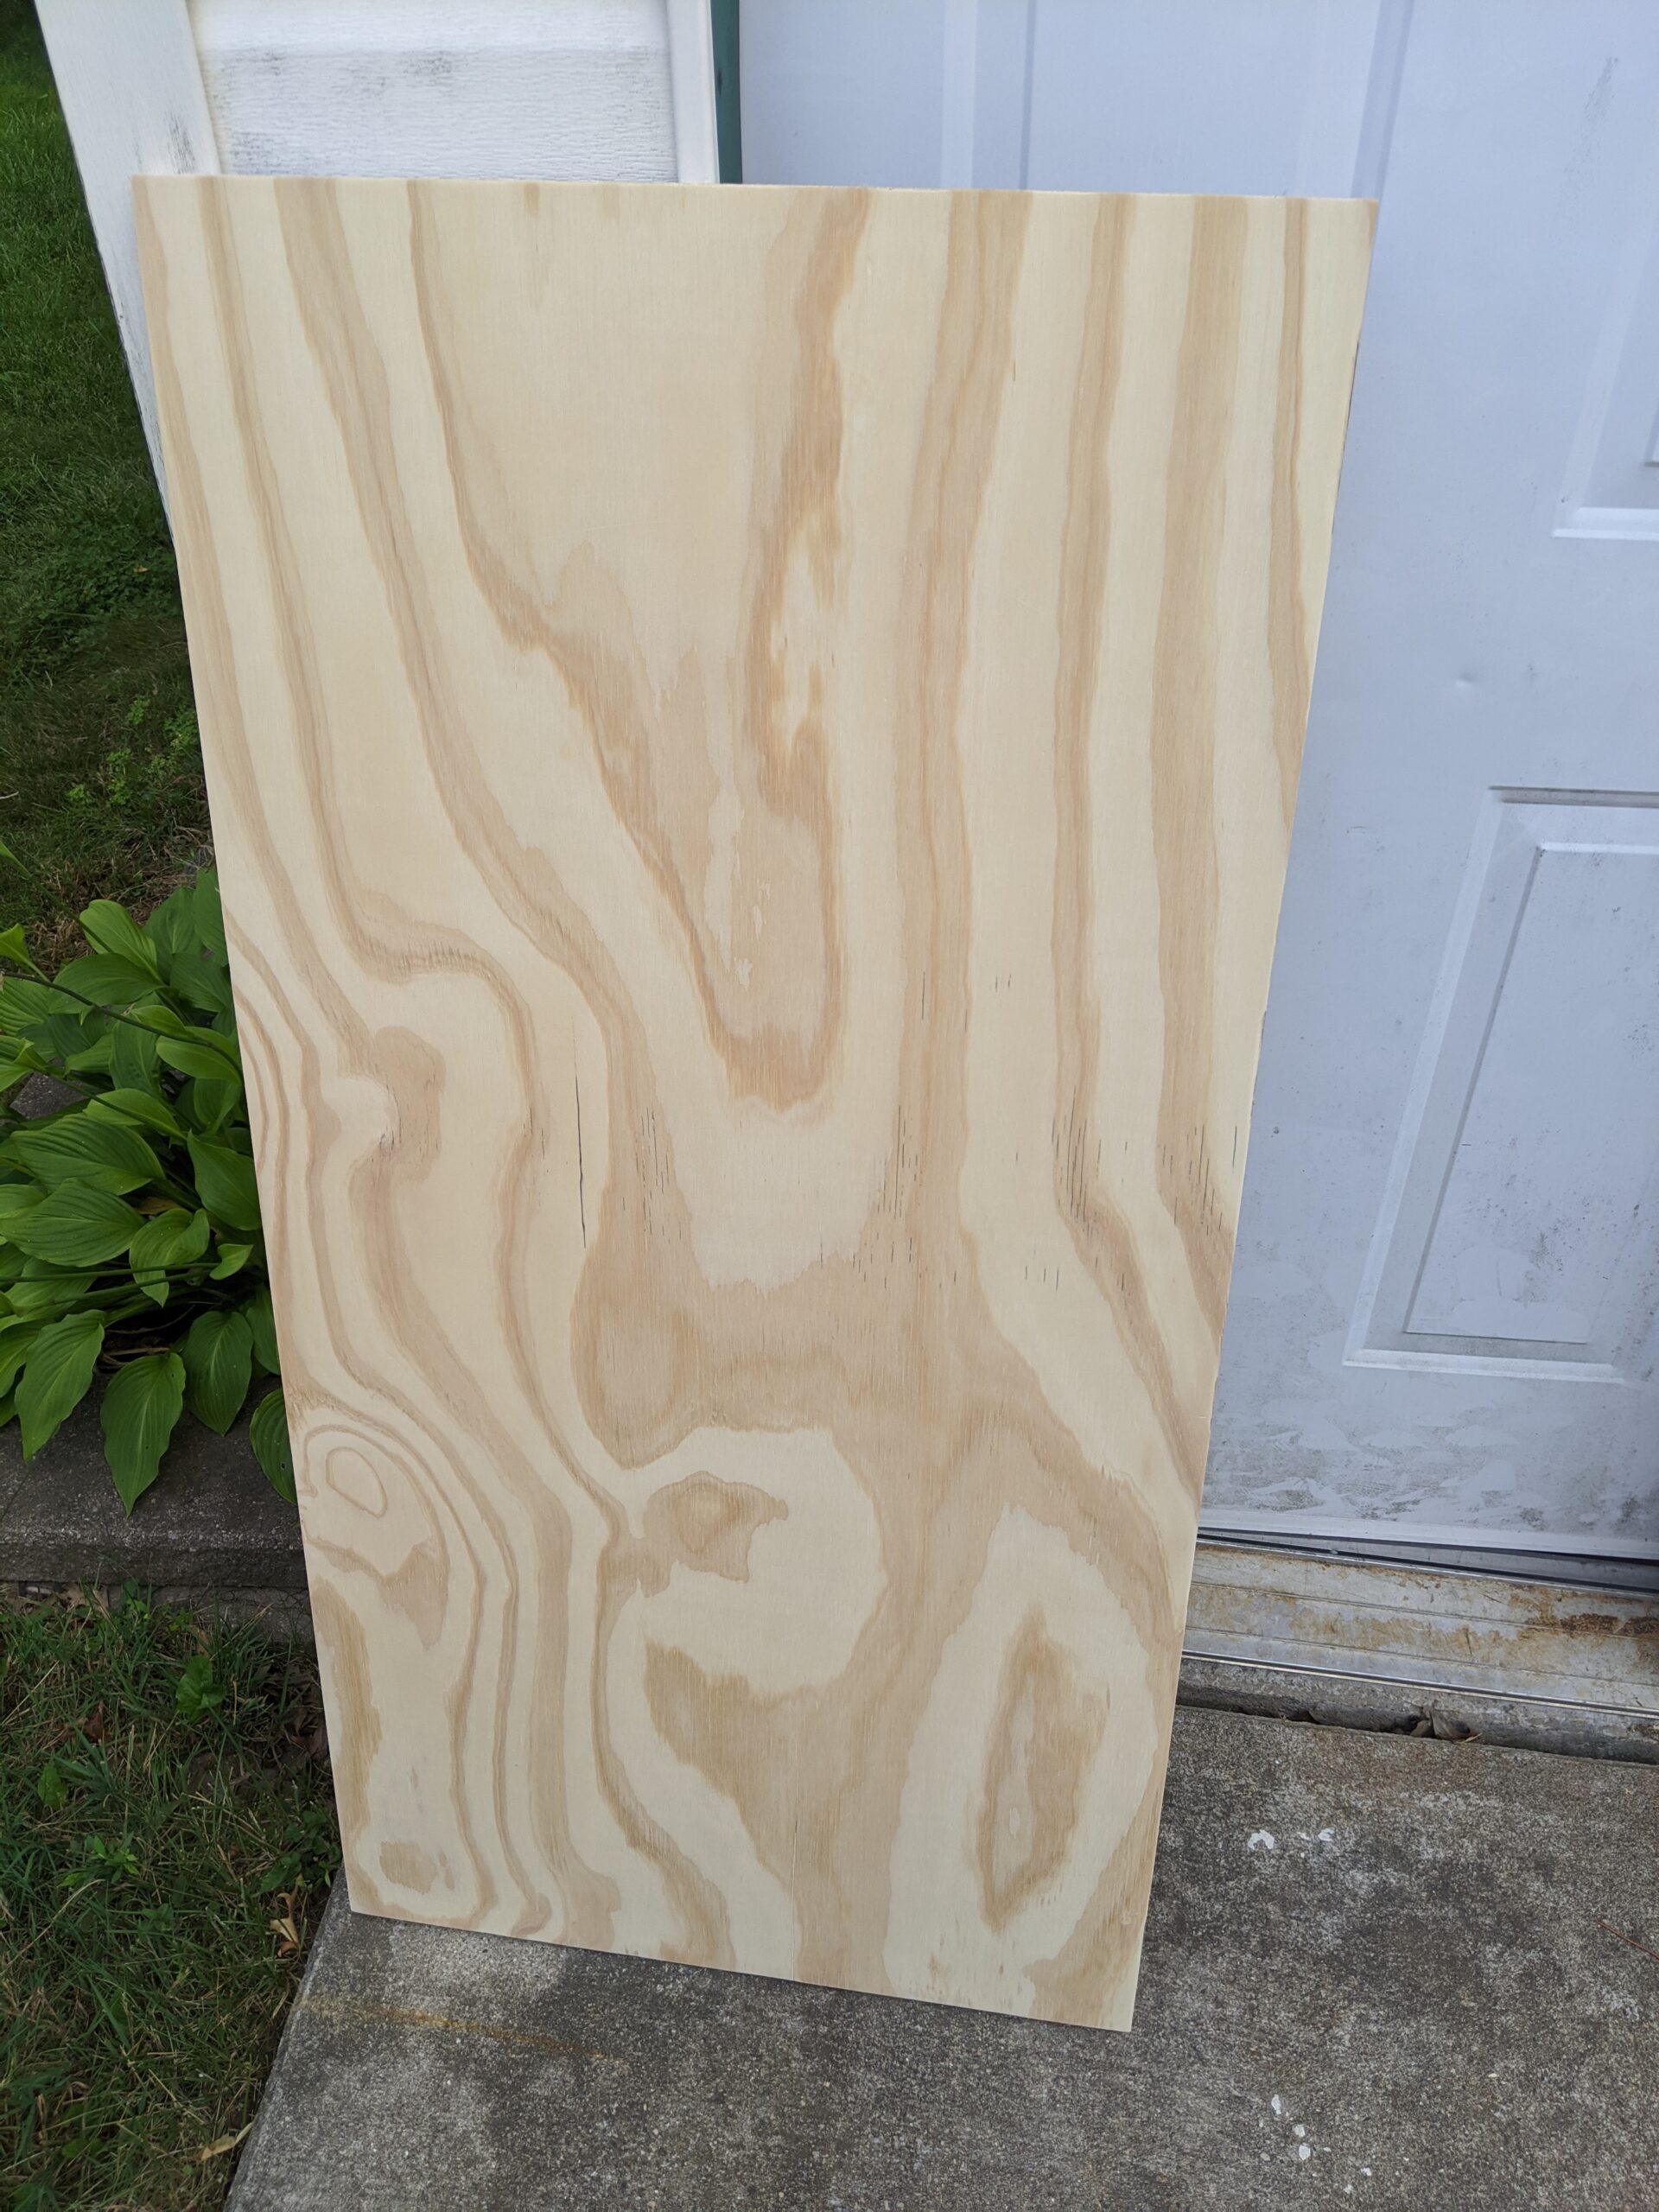
When it comes to board construction, I prefer 3/4″ plywood to the typical 1/2″ to reduce bounce. Pairing the thicker board with 2x4s makes for a pretty heavy set, so I definitely build for durability vs portability.
Materials:
2 – 2’x4’x3/4″ plywood project panel
4 – 2’x4’x8′ studs
1 1/2″ Kreg Pocket Screws
2 1/2″ Kreg Pocket Screws
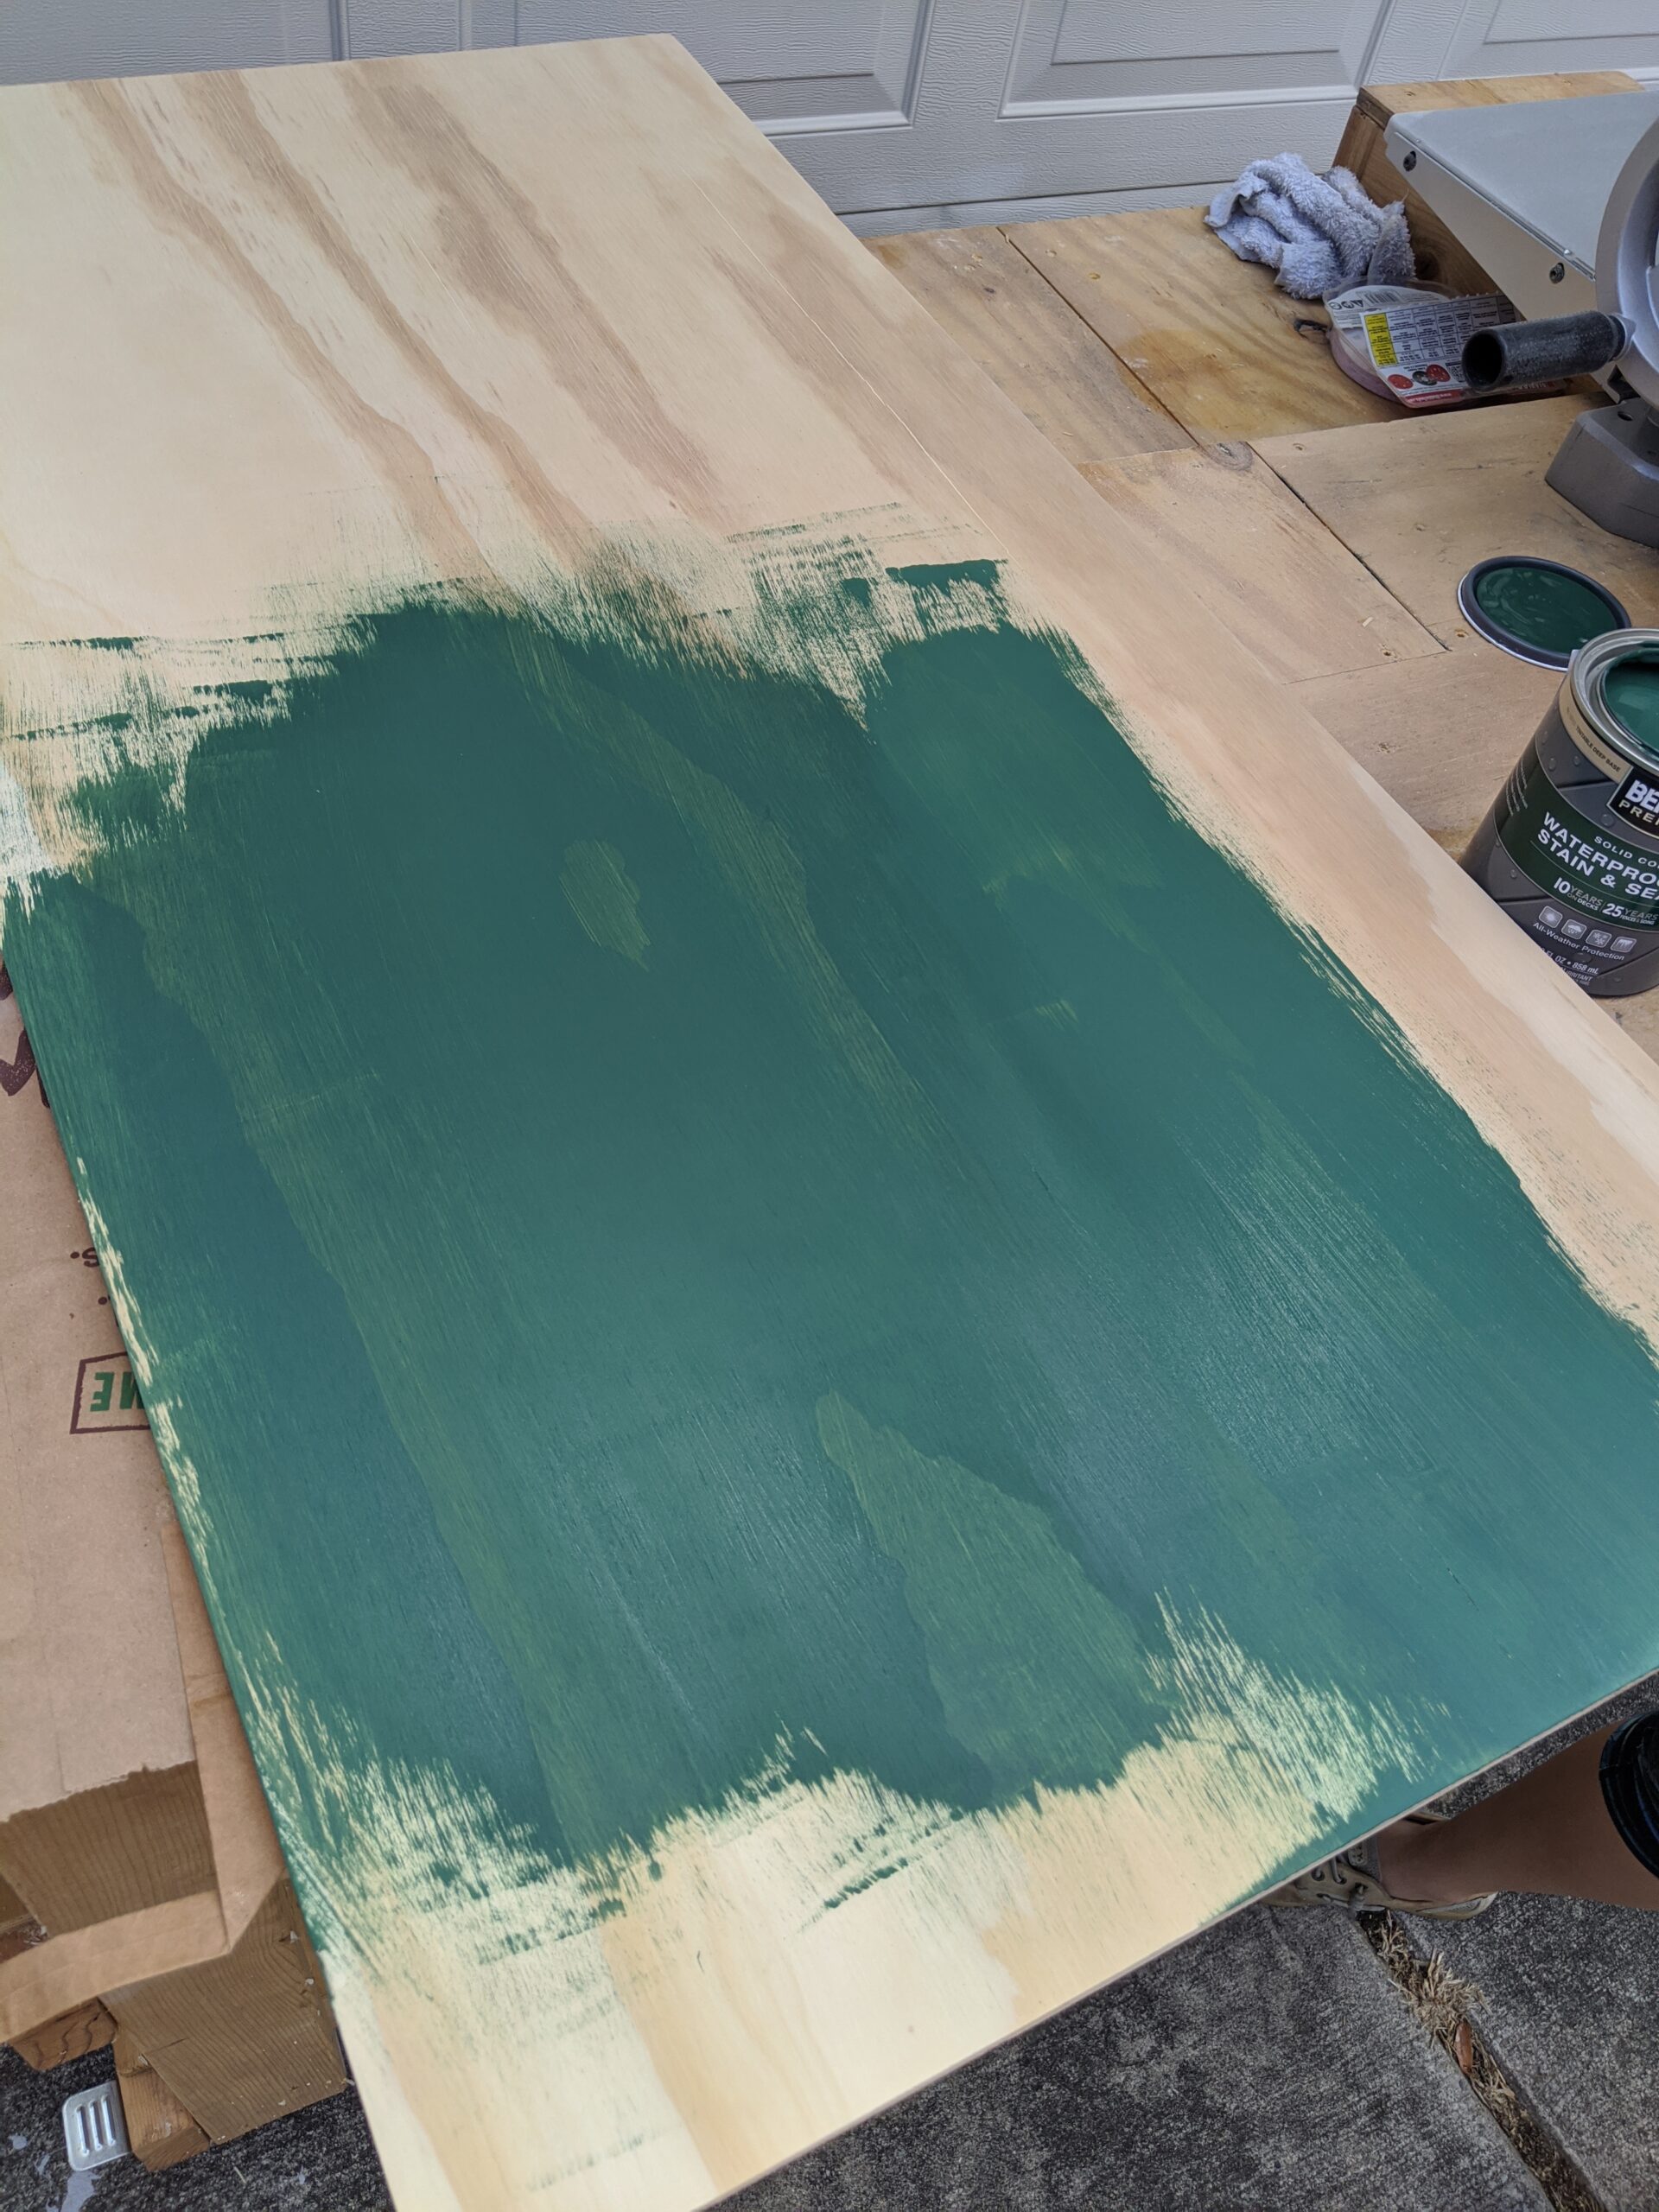
1 – 8oz can of Behr Tintable Base solid color stain – Secluded Woods color
1 – 8oz can of Varathane outdoor oil based polyurethane
Tools:
Drill
Palm sander
Hobby CNC machine with laser attachment
K4 Kreg jig
Toggle clamps
Paint brushes
Sanding and Staining
The finish that comes on the project panels is a little rough, so I cleaned it up with some 220 grit sandpaper and a palm sander. I felt that 220 grit was enough, as I want the boards to be smooth but not to the point where the bags will slide right off.
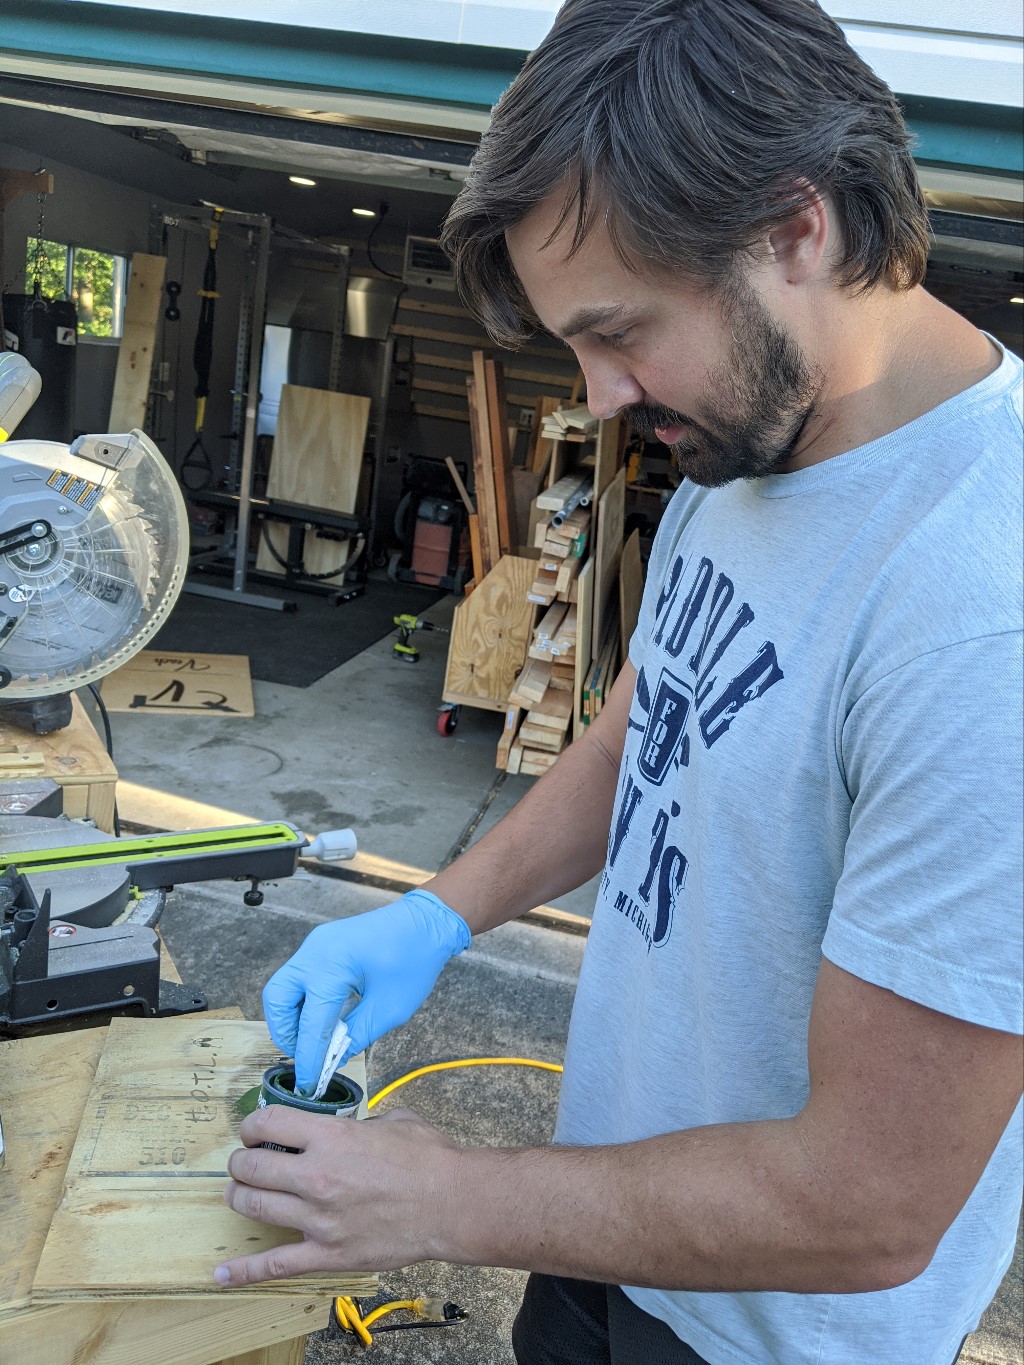
A single coat of stain was applied next. The solid color was a good choice, and only putting on one coat still allowed some of the grain to show through. I chose to use a water based stain, so cleanup was easy. One coat of polyurethane came next, and since the boards are used outside, outdoor oil based poly was the best choice to seal in the stain and provide long lasting protection.
Learning How To Etch
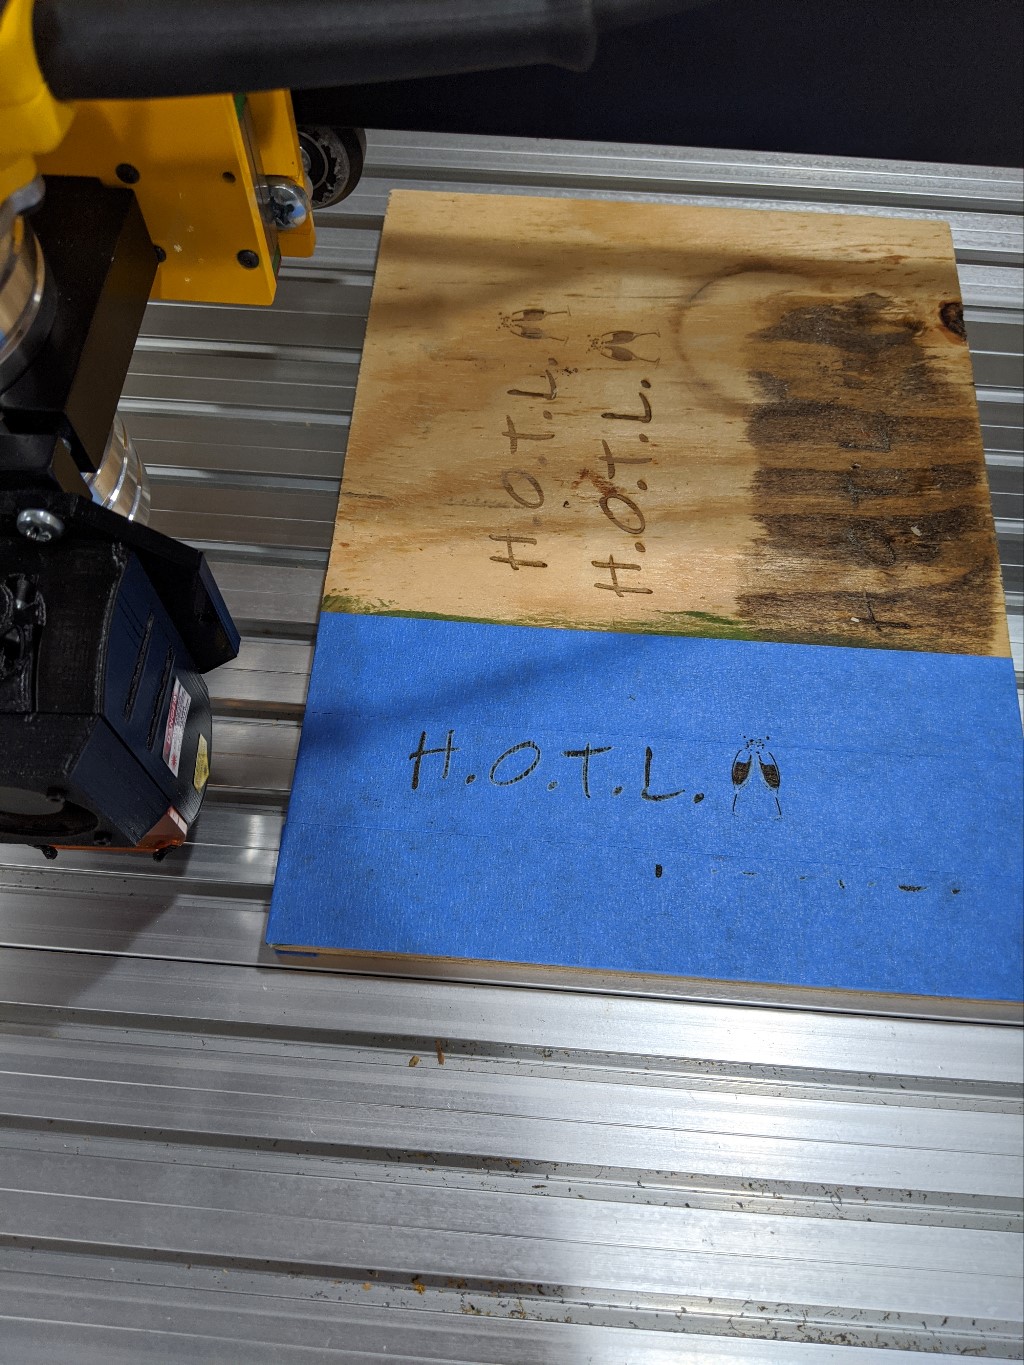
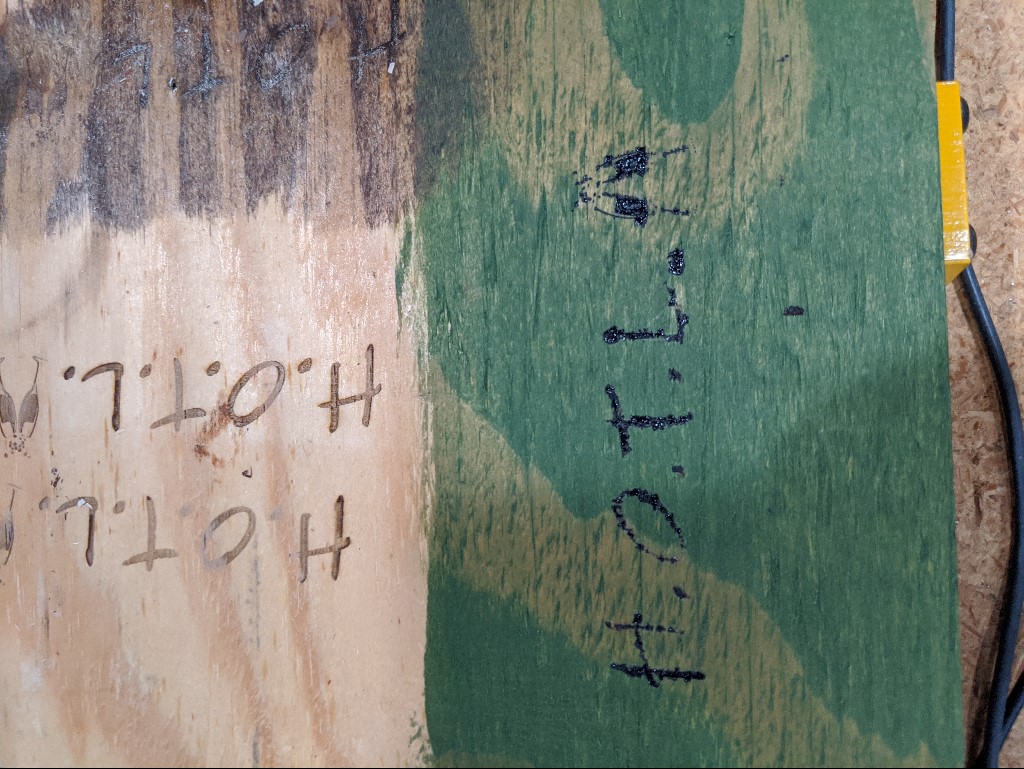
Here comes the part where I get to learn how to use my new CNC machine. After a first few test cuts to check operations, I hooked up the laser attachment. Its a J-Tech 7W Diode laser, and it was my first time using a laser. My first thought was to stain the board, then use the laser to cut a pattern into masking tape. After the laser cut the tape, I could paint the pattern/letters and everything would work out great! As you can see from the above image, it worked, but the edges were not sharp, and the quality was definitely not what I wanted.
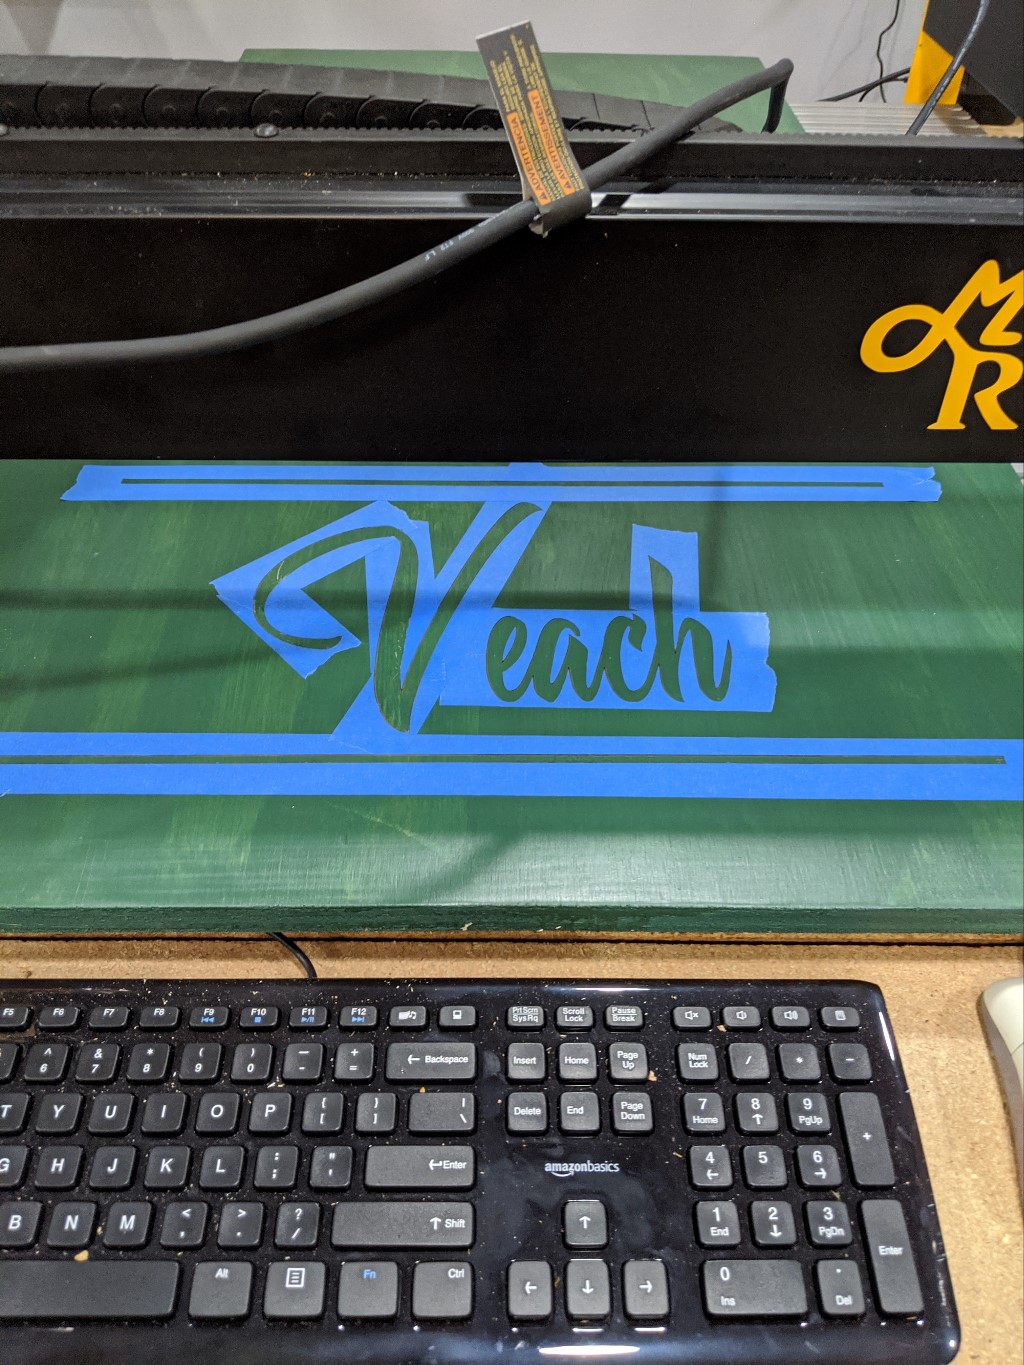
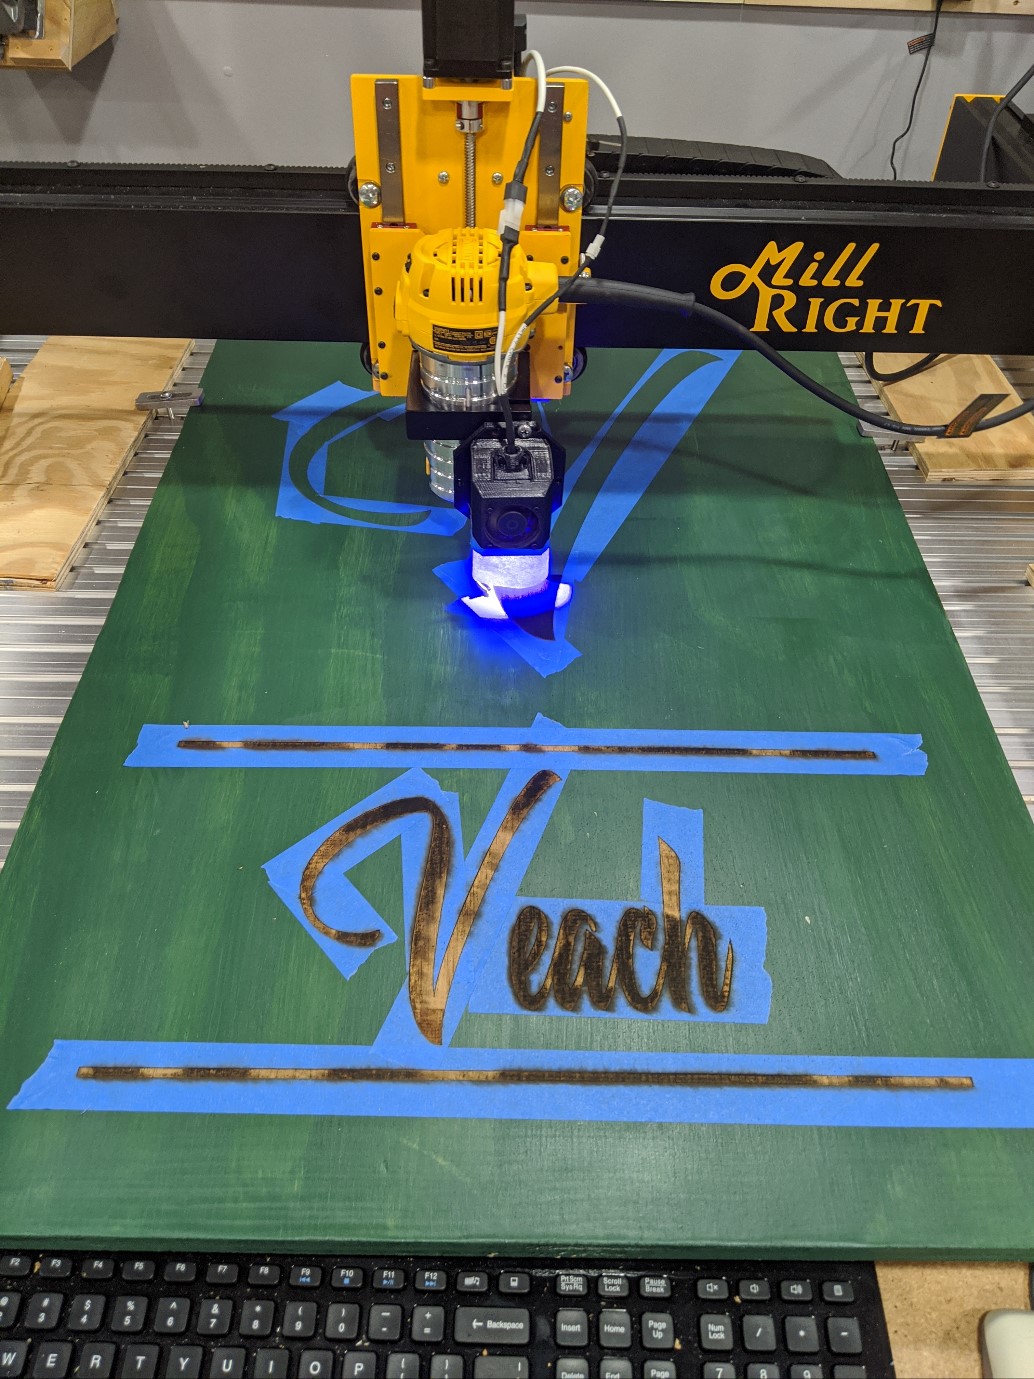
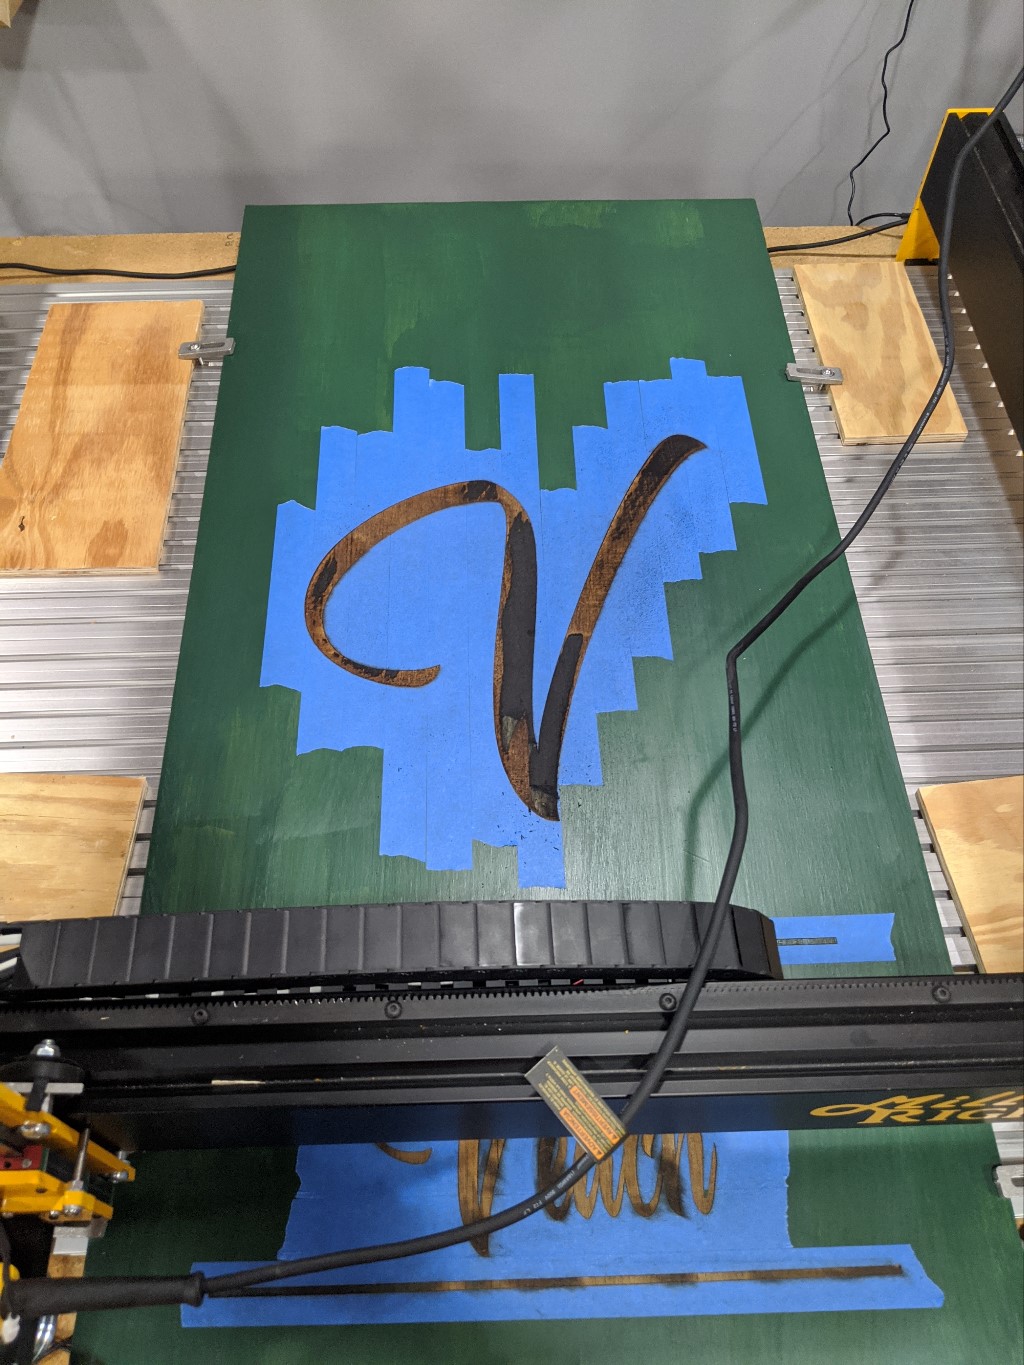
What I ended up doing was using the laser to cut the outline of the shape on the stained surface. Once I knew where the lines would be, I put masking tape over the area. Then I cut the outline again with the laser, cutting the masking tape. After peeling up the tape, I etched the solid shape.
You can’t see it here, but there was quite a bit of smoke. Think small campfire in an enclosed space. Luckily it was the summer and I cracked the garage door while running a fan, and it wasn’t that bad.
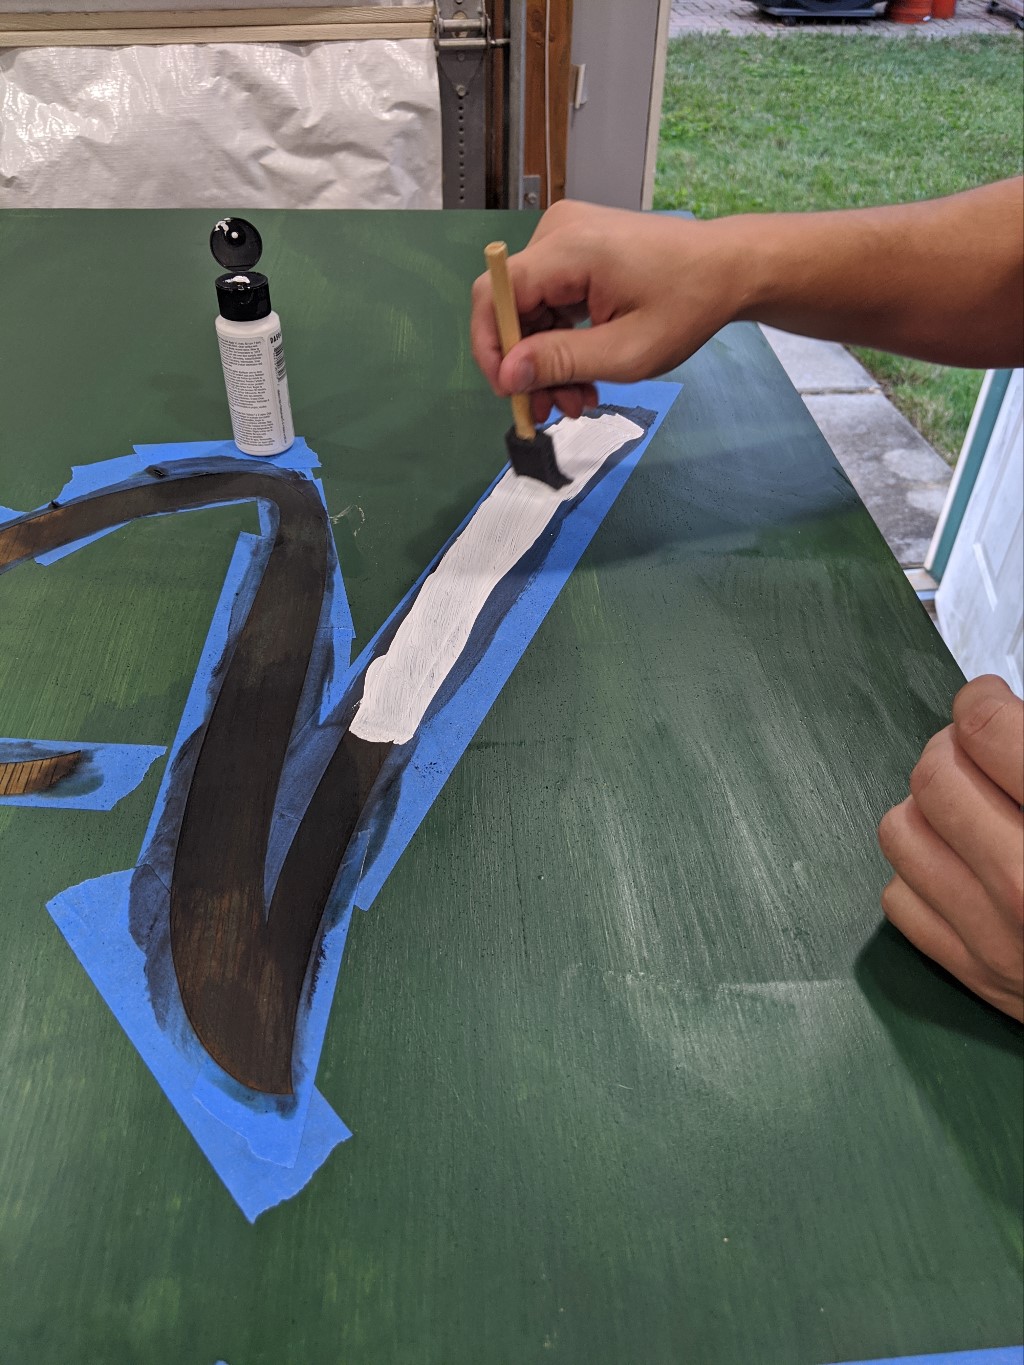
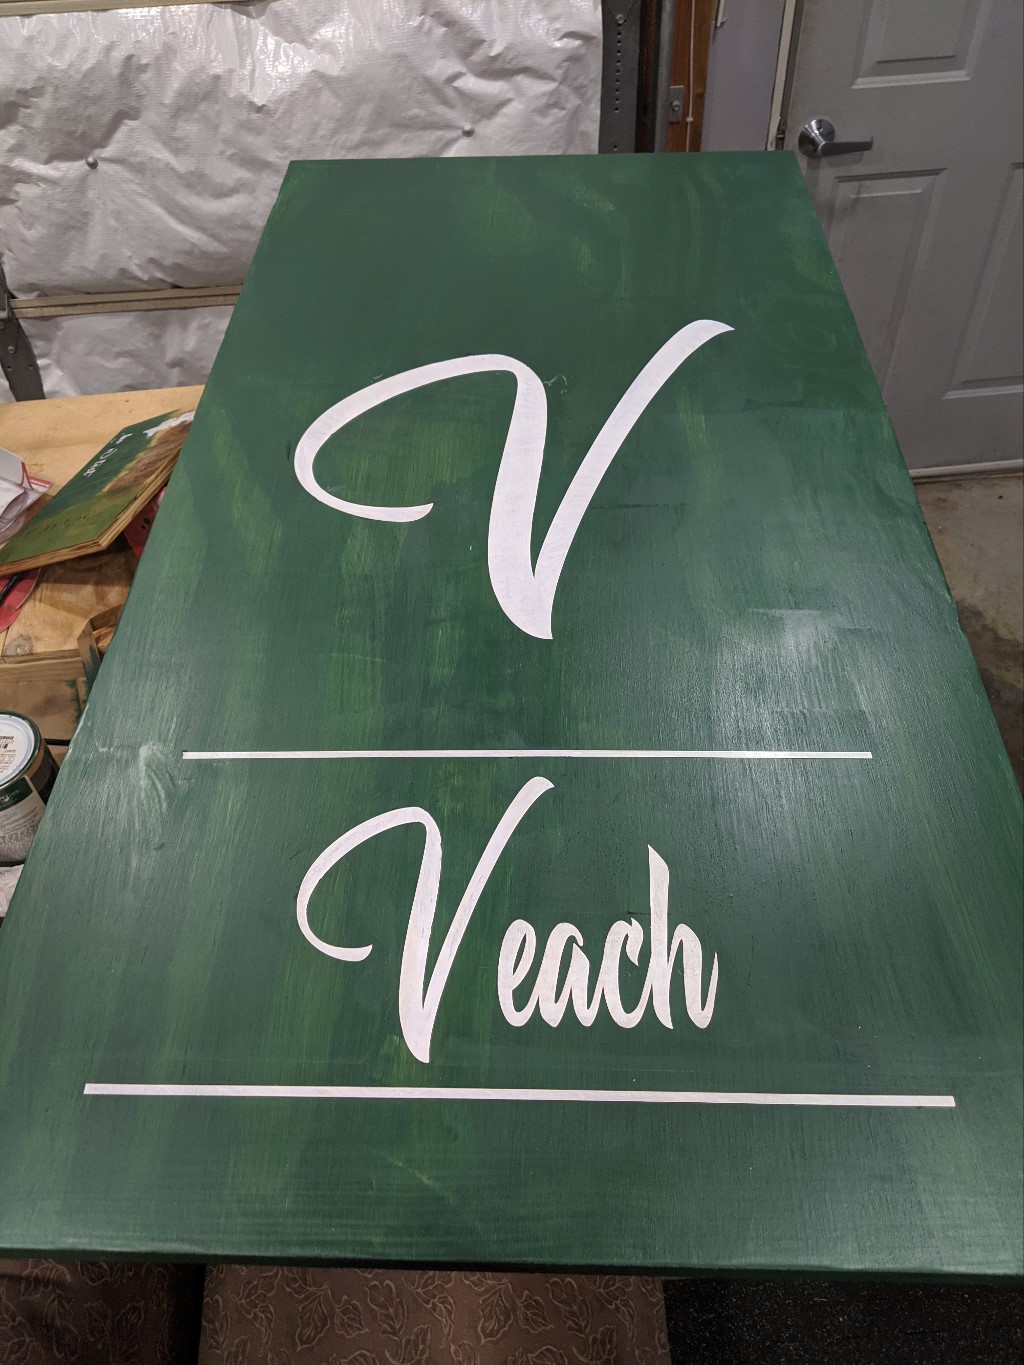
Painting
The trick to getting crisp paint lines after masking is a coat of polyurethane on the etch to seal the edges of the masking tape. Two coats of cheap acrylic paint worked very well to fill in the letters. I was very satisfied with the end result! We still were not quite ready to seal the project.
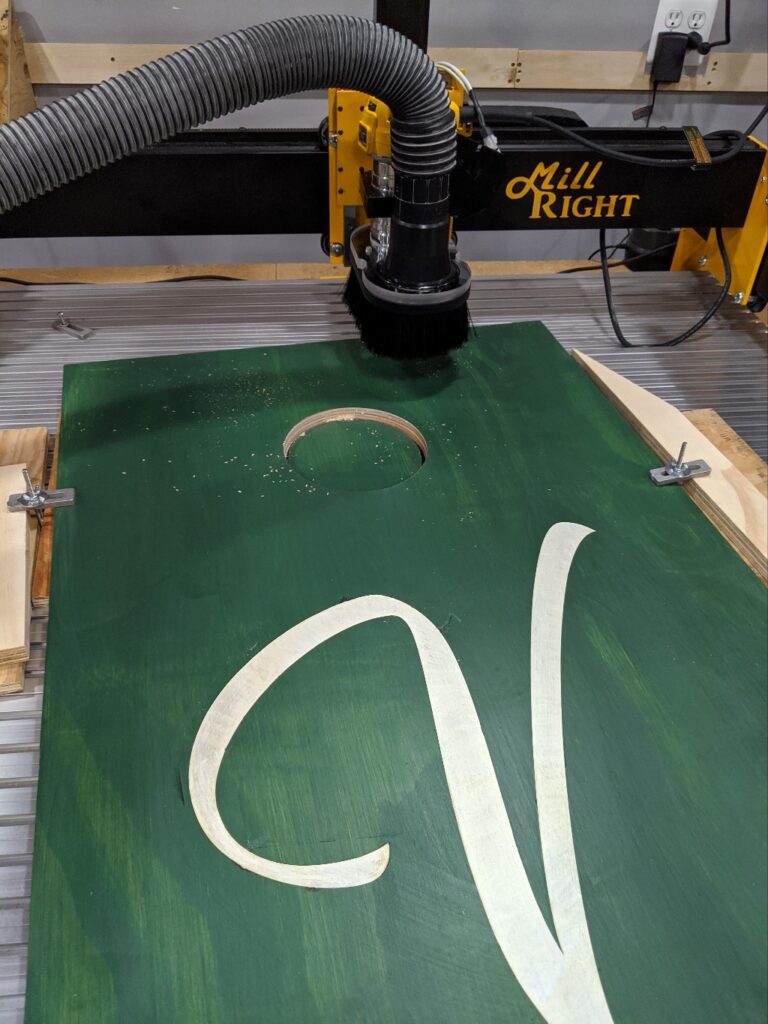
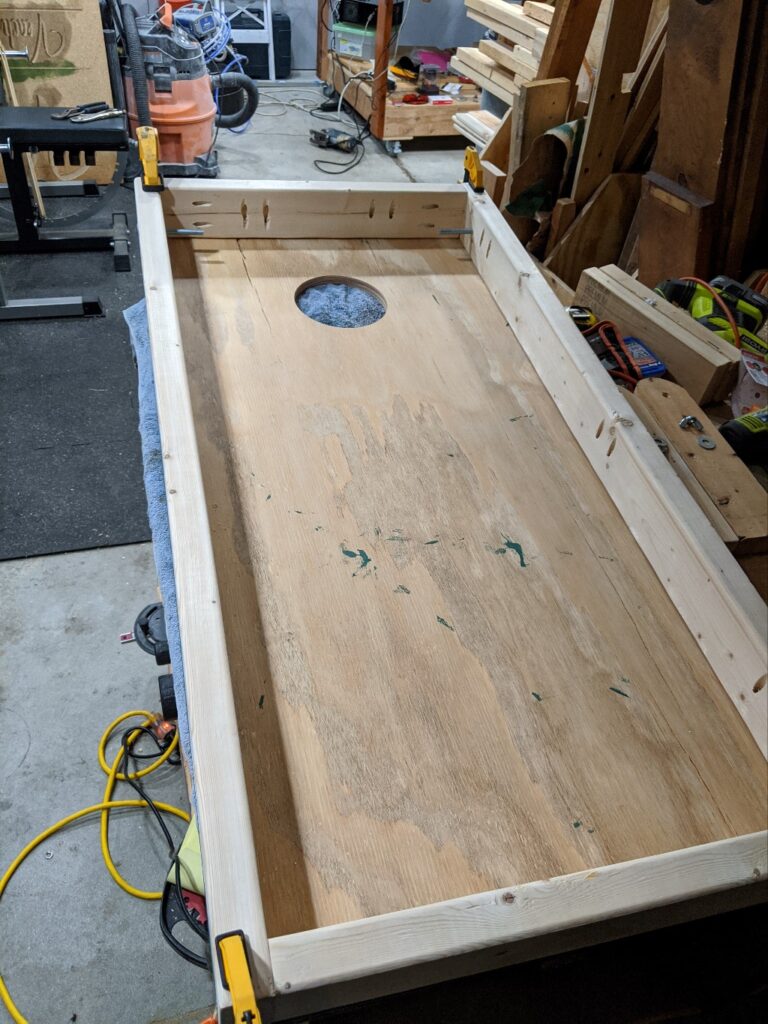
Cutting Holes With CNC
This part was actually a little nerve wracking. I ran the CNC toolpath on several test pieces before I got it right, and even then I was worried I would mess it up somehow. Luckily the machine performed as expected, and the hole was actually impressive. The hard part of making the boards was now done, and I could relax a bit.
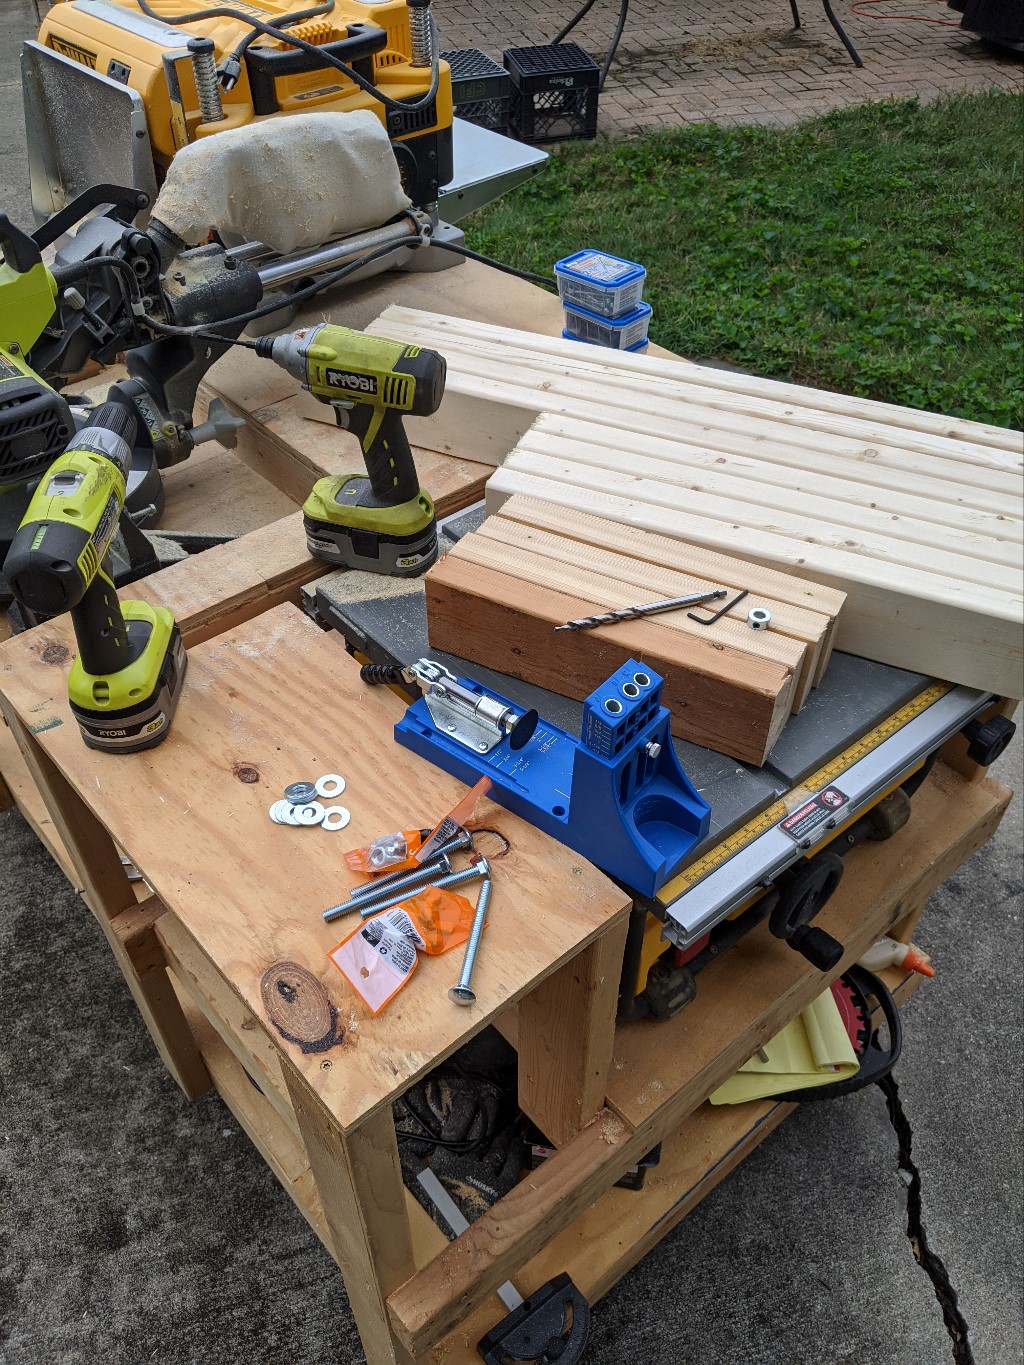
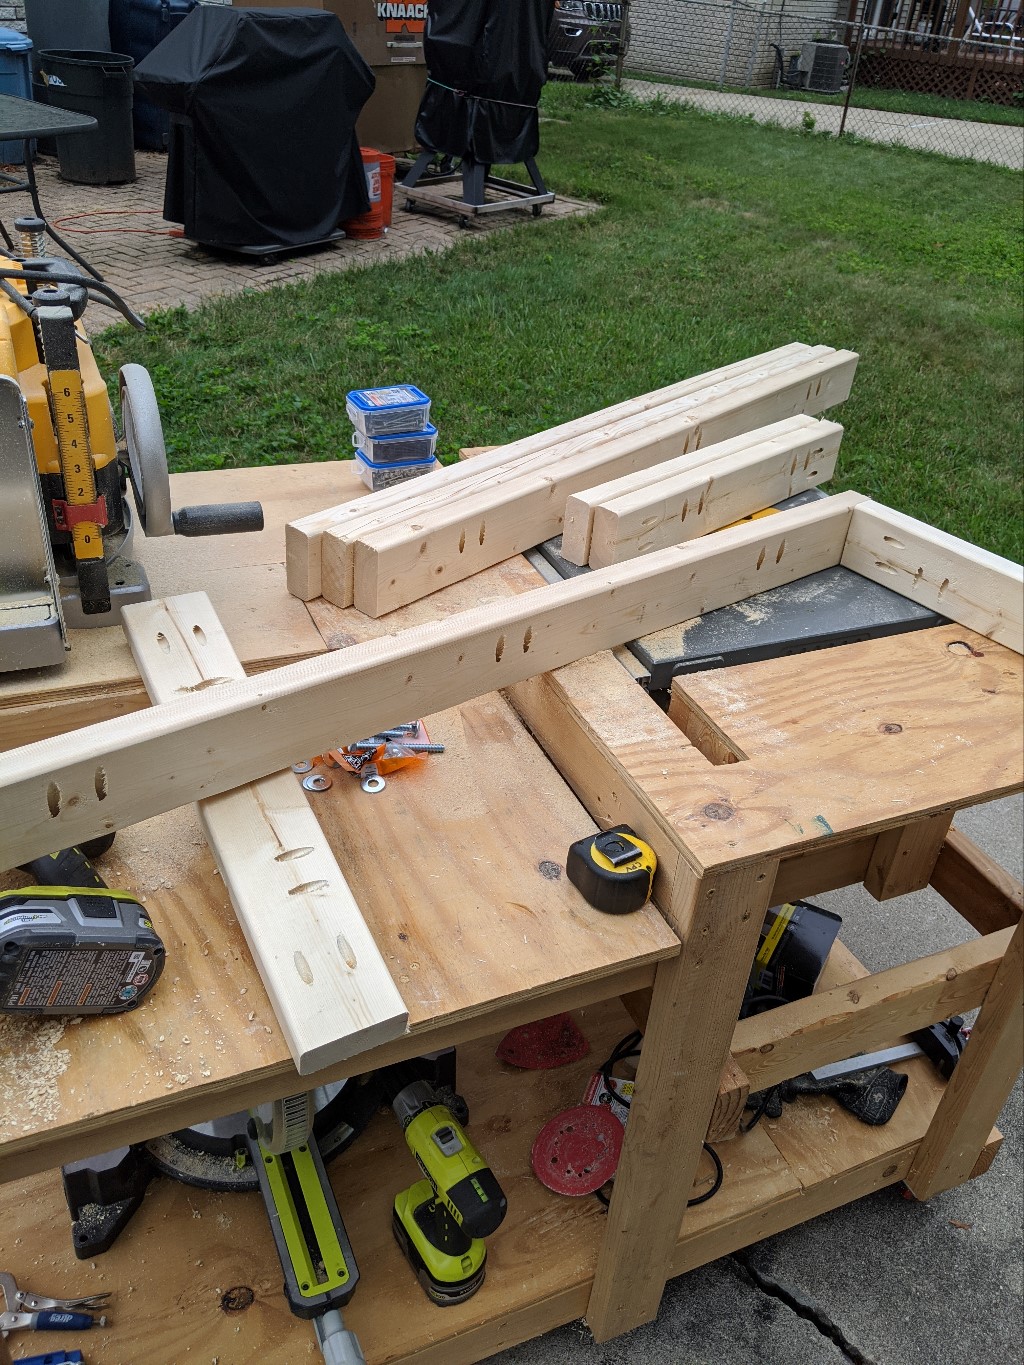
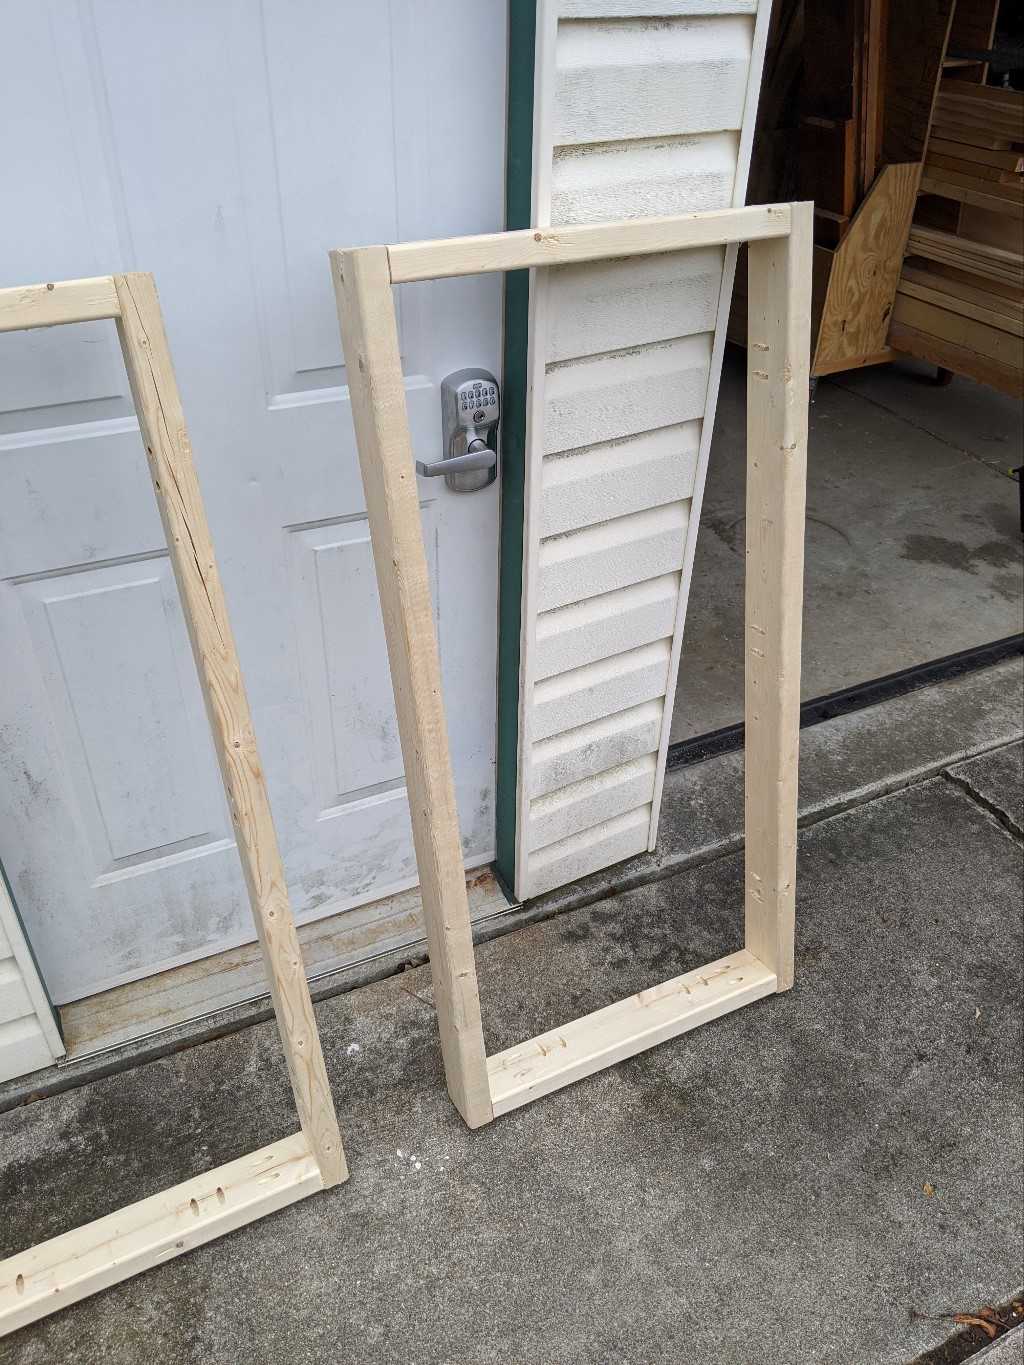
Making The Frames
The 2×4 frames were quite sturdy, and I loved using the K4 Kreg jig. I decided on using Kreg fasteners for this project because the end result would allow the exterior surface to not show and of the screws, especially the top.
Both the frame and top were slightly warped, so I used some clamps and a table to straighten them out before I screwed them together. I was very happy with the final result! I applied some stain on the legs and hole, and then a final coat of Polyurethane.
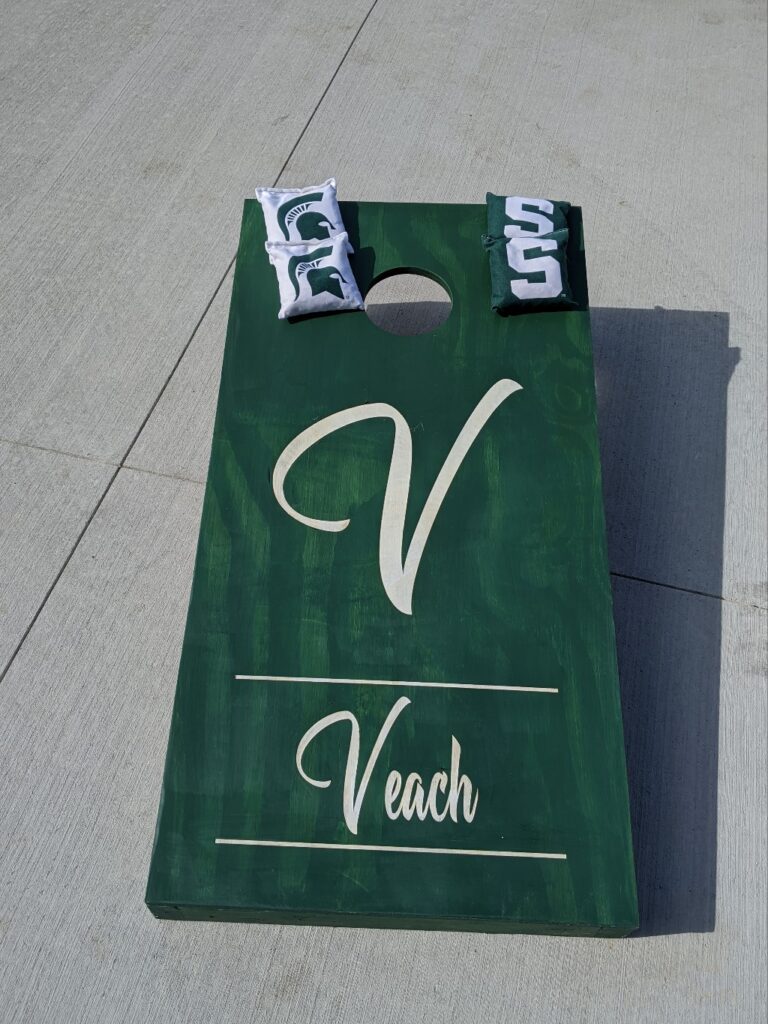
Finished!
The themed bags were a nice touch! The first play through of the boards was great! There was the perfect amount of slide, and the heavier board kept the spring to a minimum. We hope to put these to good use in the coming years!