I have been doing research on the best way to organize the hand and power tools in my garage, and after trying a few solutions, I settled on French Cleats. The system feels more versatile to me than something like peg board, even if it requires me to build my own tool holders. I plan on running my 3d printers in this space, as well as working on many projects, cars, and making a relatively comfortable place to hang out.
In brief, a french cleat is a length of wood attached to a wall, with a 45 degree taper on the top, that can be used to mount cabinets, mirrors, shelves, or in this case tool holders. The appeal of the system is that you can move things around easily, it is cheap to make, and if done well can be very sturdy. There is a picture of a shelf I made from scrap wood at the end of this post.
There are many places online to find plans and examples of tool holders for the French Cleat system, and I plan to provide some updates when I get around to making them. I am also excited to get my Millright CNC machine when that comes in, and use it to learn CNC as well as create some practical storage solutions.
For now, I had a fun time planning and executing this project, as I ran into a few snags while cutting and putting up the cleats.
Table of Contents
My First Solution
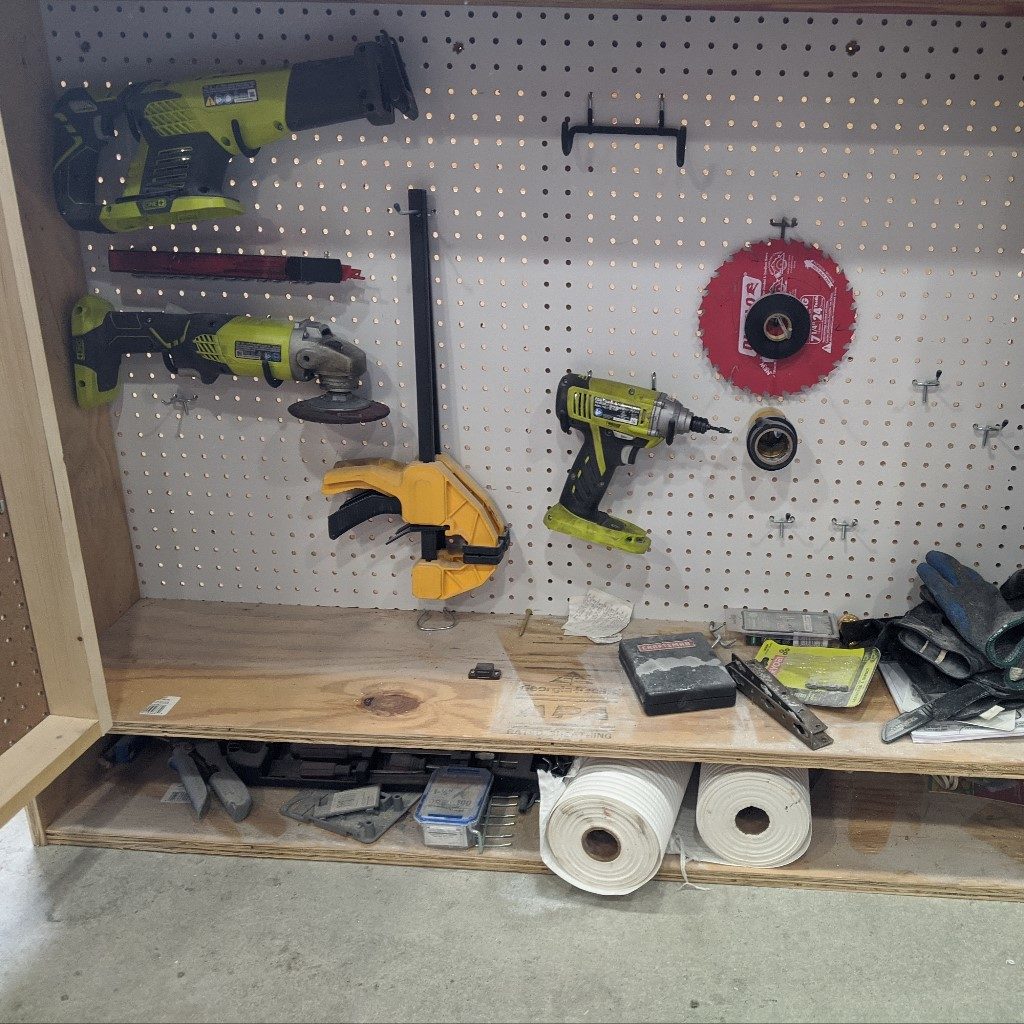
This is a storage solution I made following some online plans. I had most of the materials sitting around, and it was my first experience using a kreg jig, as well as a dado blade. Overall the unit is very sturdy and well designed, but it is still reliant on peg board. I found the solution to look nice, but did not hold up to daily use as well. Typically when I removed a tool, the peg came with it, and it got frustrating to pick the peg off the bench or floor and put it back every time.
Naturally I made a spreadsheet to determine the optimal cleat size and spacing for a 3/4″ 4×8 sheet of plywood. The winners were 5 and 6 inch wide strips, as they were appropriately sized for strength, and minimizing waste. I settled on 5 inch, which allowed me to cut 9 sections in a 4×8 sheet, turning into 18 8 ft lengths of french cleat to work with. My garage is a standard 2 car, the back wall is 20 feet. Yes I calculated how many screws I needed.
Ripping The Plywood
I did not want to handle a full sized sheet of plywood at home; I also drive a compact car not a pickup truck, so I got help at my local big box store to cut the 2 sheets I bought lengthwise at 27″.
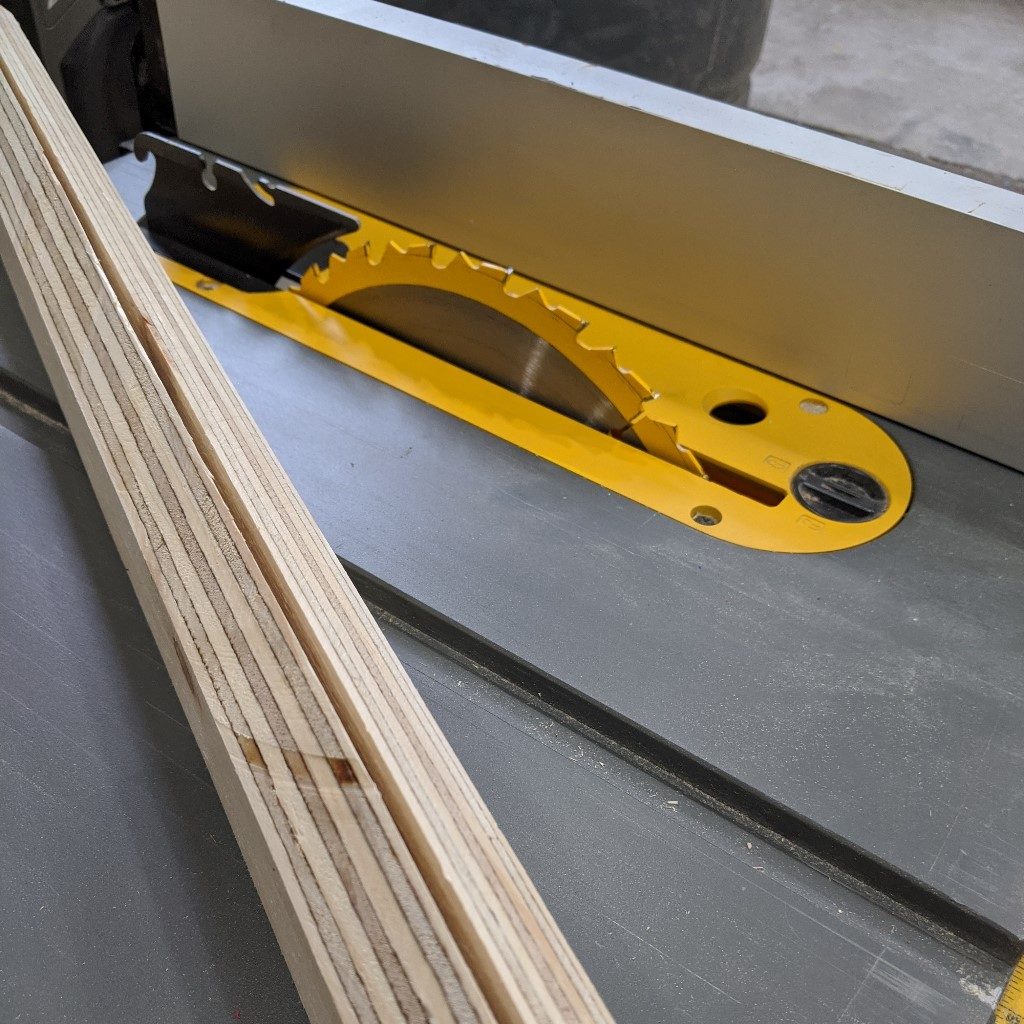
Once home, I set the fence on my table saw to 5 inches and cut my first sheet of plywood into strips. What I did not anticipate was how many educated guesses it would take for me to figure out where to set the fence to get two equal 45 degree cuts out of a single 5 inch sheet.
Spreadsheets to the rescue! After I measured the short and long halves of the cuts I made, I made a table to figure out where exactly I needed to set my fence. The best spot was 2 inches, which gave me 3 inches on the long side and 2 on the short. I only messed the cuts up twice, but that is fine, as I can use those strips to make tool holders.
I feel it is worth noting that the edge along the angle cut of the plywood is not consistent, as there seem to be variations in the thickness of the plywood.
Hanging The Cleats
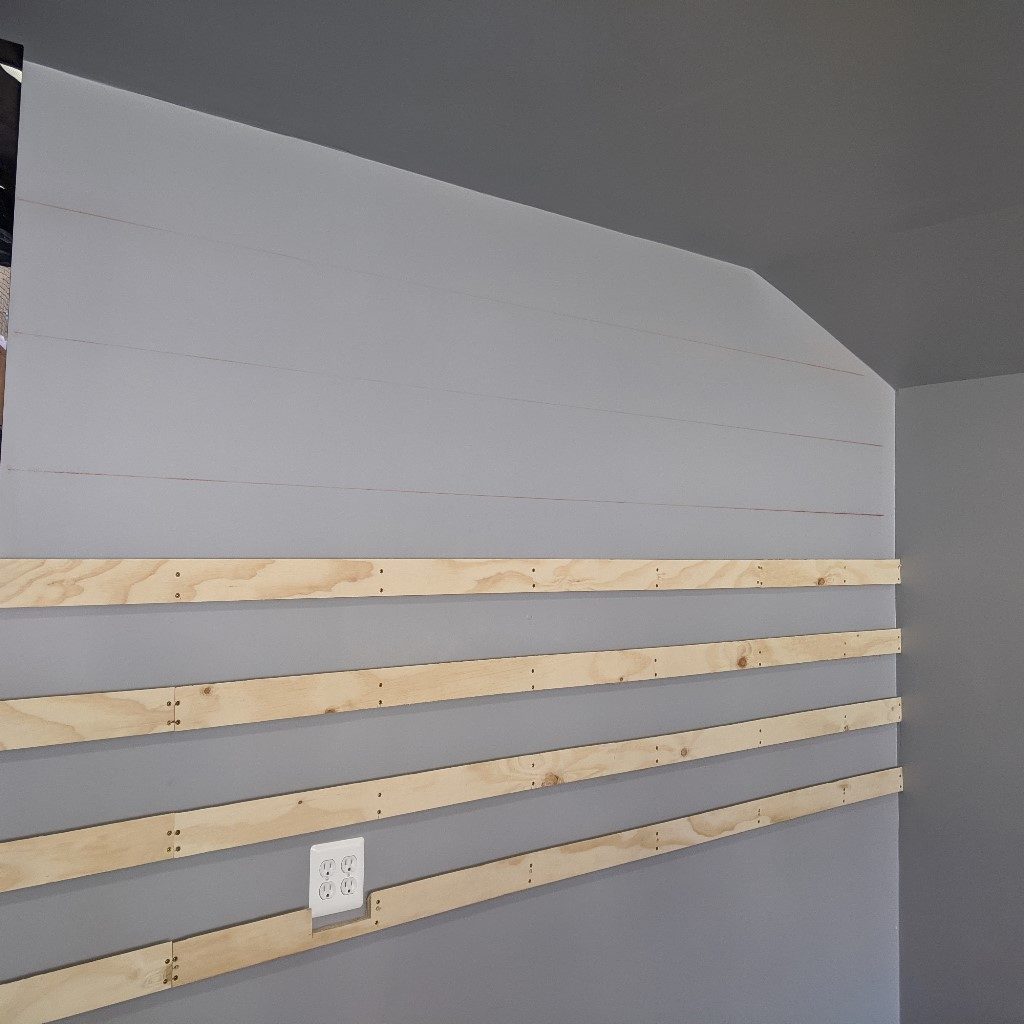
I chose to set the bottom of the first cleat at 42″ from the floor. This lets me get a workbench on wheels under it comfortably. I measured both sides of the wall and snapped a line, then stood back to make sure it looked symmetrical and level. Luckily it did, and I used my my stud finder to hang my first strip, putting two structural screws into each stud.
After putting up the first strip, I decided on 8 inch spacing, which I am very happy with. It is very functional as well as aesthetic.
Cleat Install Complete
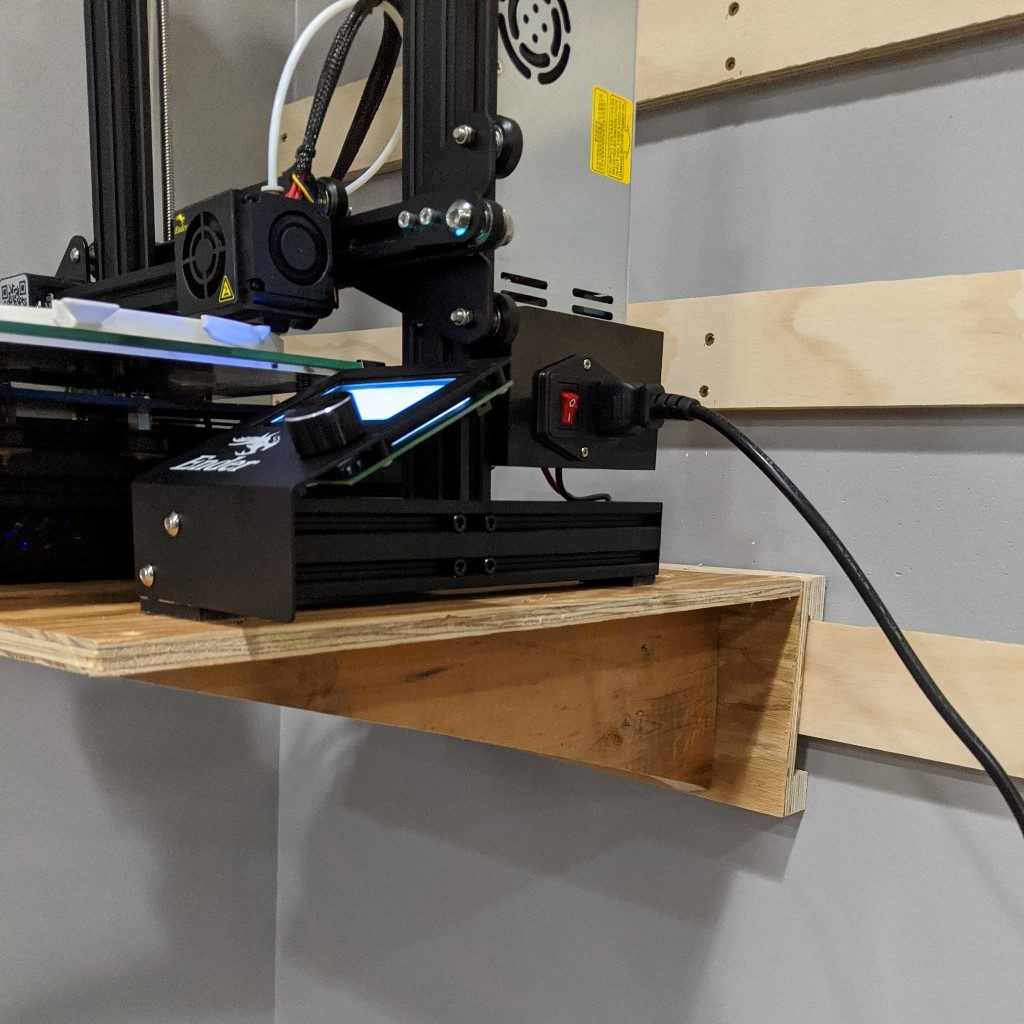
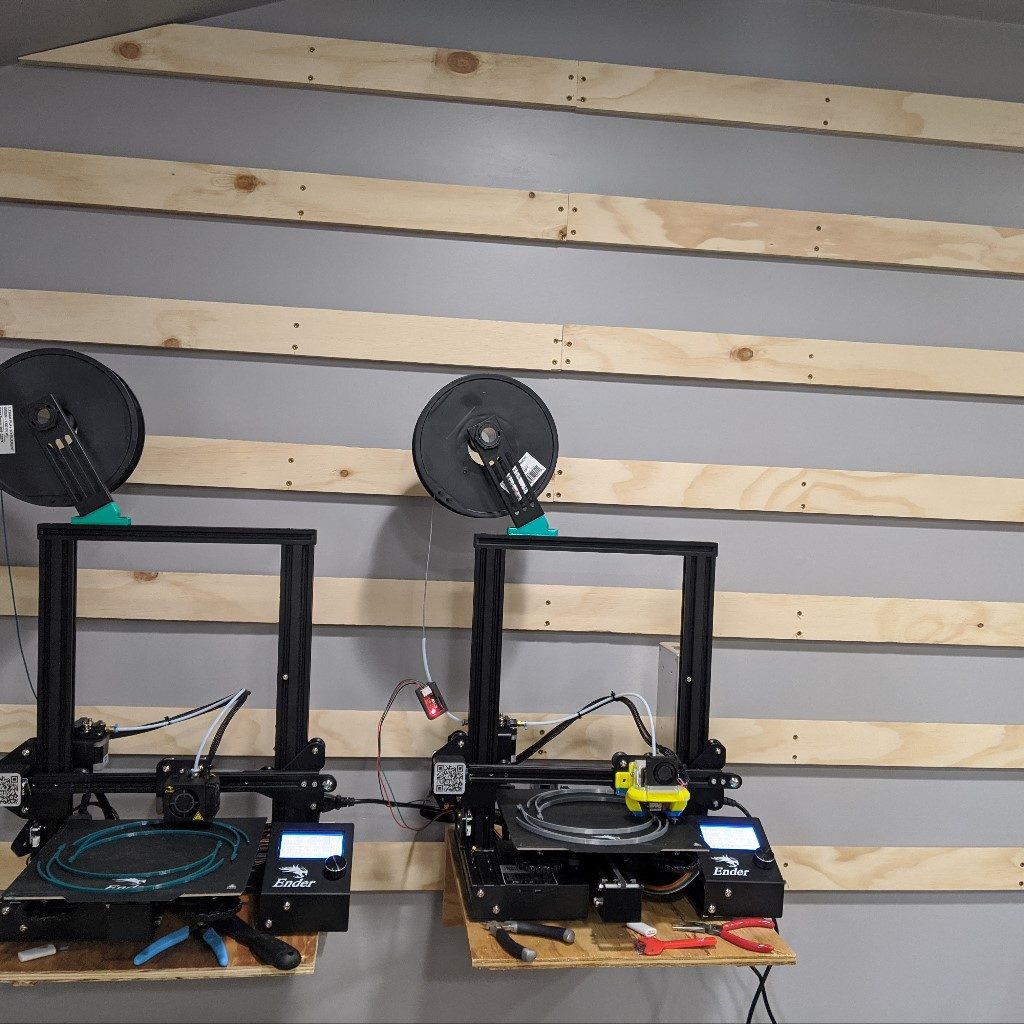
The first board went up, I figured out the spacing, where the studs were, and snapped my lines, and the rest of the job went quickly. I had some extra time to throw together some quick shelves for my two Ender 3 printers, and I was satisfied with how they turned out. I am excited to utilize the French Cleats, now that they are up. More posts on tool holders are definitely on their way!


Nice work! That is definitely something I will do in my garage.
Comments are closed.