


Burning a bootloader required gaining access to the controller, and I found the best way to do this was to remove the bottom cover. Three screws here on the bottom, and one on the top, and this will come off. I unplugged the fan so that I could set the cover aside.
The six empty pins at the top of the picture are the SPI bus.


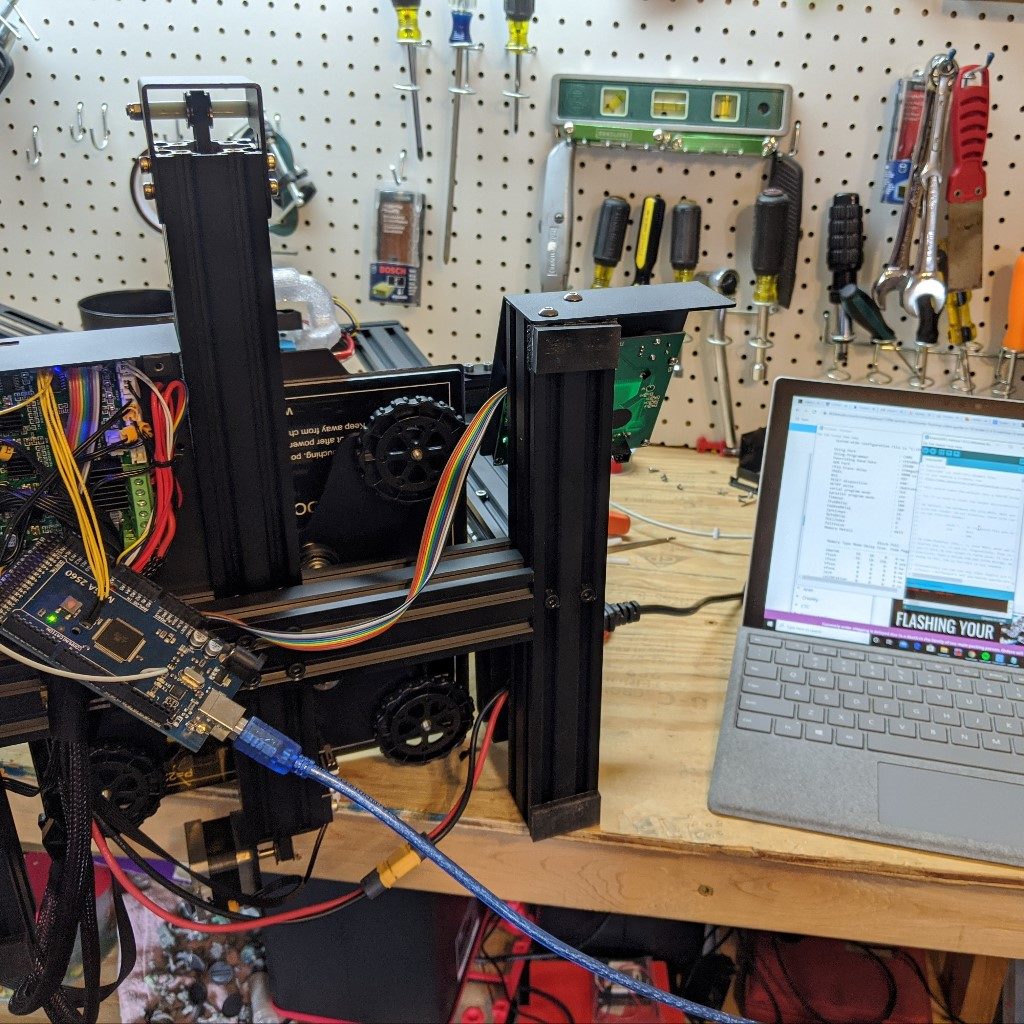
I used the above pinouts to jumper the Arduino to the Ender 3.
- 5V to 5V
- MOSI to MOSI
- GND to GND
- MISO to MISO
- SCK to SCK
- The Arduino PWM pin #10 to Ender 3 RESET
I used the male to female jumper for the PWM #10 to Reset.


I connected the Arduino to my PC, then loaded the ArduinoISP sketch. I made sure to include the U8Glib library in the sketch, and then uploaded it to the Arduino.

I used the TH3D Arduino IDE, selected the Sanguino board, selected the Arduino as ISP, and clicked “Burn Bootloader” In the Arduino IDE command window it read “Output bootloader burned successfully”. Now the bootloader was burned onto the Ender 3, and I can load Marlin!
Once the bootloader was successfully burned, I put the cover back on. The rest of the flashing process was now handled over USB.


I downloaded the Github link for the latest Marlin 1.0 release. To configure the firmware for the Ender 3 I navigated to Marlin 1.1.x >> Marlin >> Example Configuration >> Creality >> Ender-3 and copied the following files:
Configuration.h
Configuration_adv.h
_Bootscreen.h
_Statusscreen.h
I pasted the files in the Marlin directory and overwrote the existing. This gave me Marlin firmware configured for my Ender 3.

The next issue I ran into was that the Marlin firmware file was too large for the memory of the Ender 3 controller, so I had to comment out the boot screen image (#define SHOW_CUSTOM_BOOTSCREEN). After that I was able to flash using 99% of the available memory, but it worked!
When flashing the firmware, I had to make sure I selected the Sanguino board. After that, everything worked OK.