

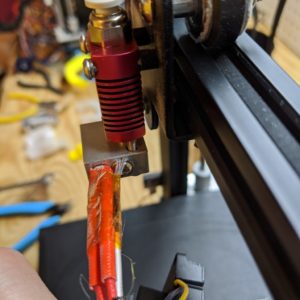
It is common for plastic to have melted inside the hot end, between the PTFE tube and the nozzle, which makes removing the tube at room temperature extremely difficult. I pre heated the nozzle to ABS, since I had been using PETG.

Using the wrench supplied, I carefully removed the nozzle. I used a pair of pliers for the last few turns, to make sure I didn’t drop it.
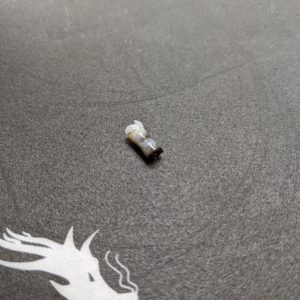
Rather then fight pulling the PTFE tube up through the heat break, I pushed it through the bottom of the hot end and cut off the melted plastic covered part with a razor knife.
Next I pulled the PTFE tube out of the hot end. This was much easier than trying to fight pulling it out with melted plastic all over the bottom of the tube. I was careful not to touch the end, as it was hot still.
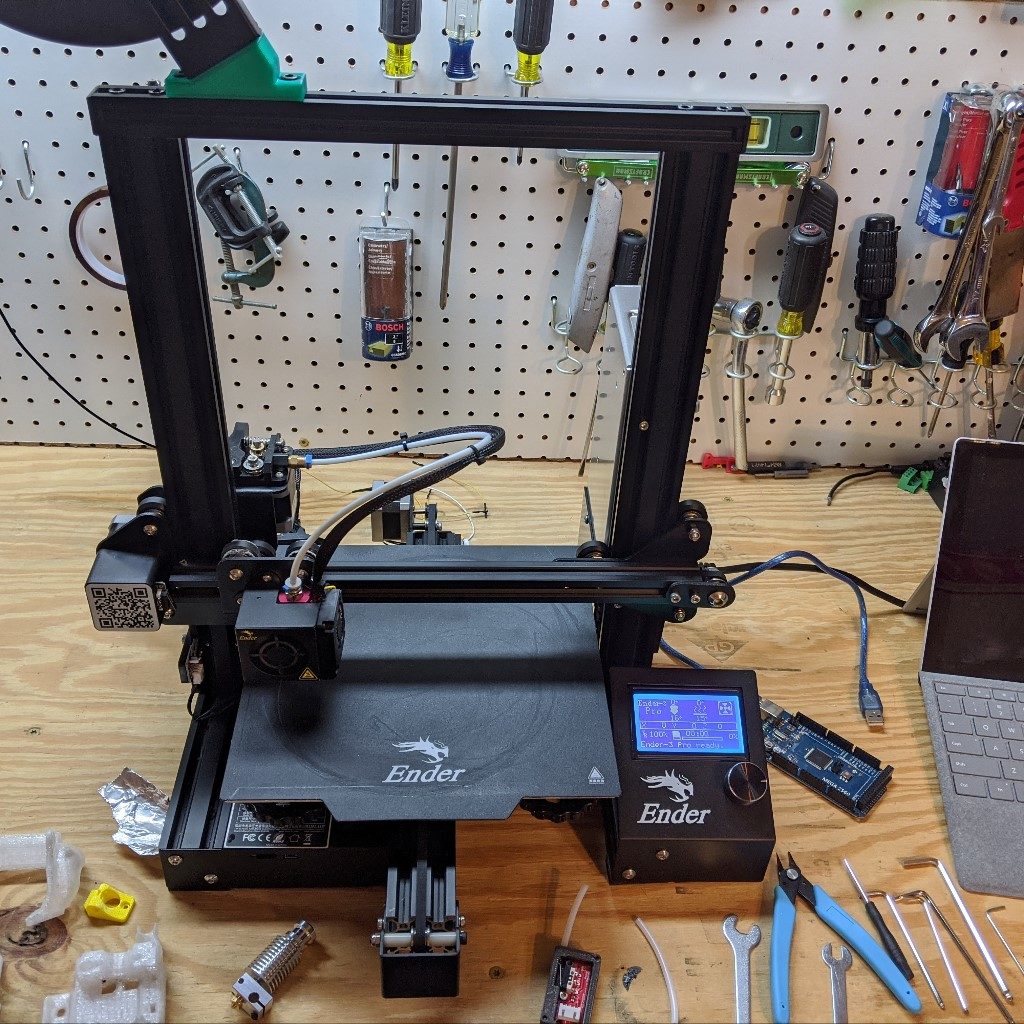
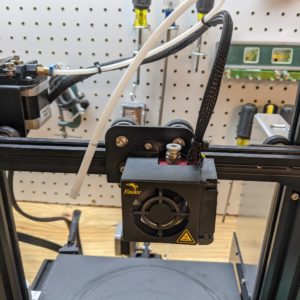
With the hot end cool, and the printer off, first remove the part cooling fan. I set the screws and fan duct aside for now.

Remove the two screws holding the shroud on to the x carriage.
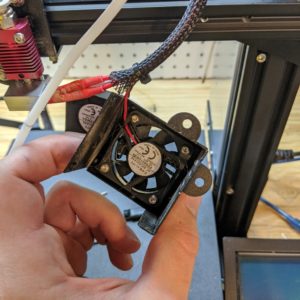
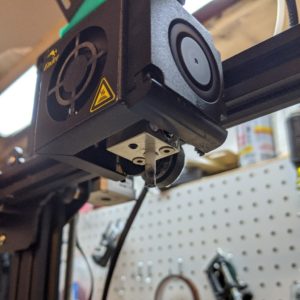
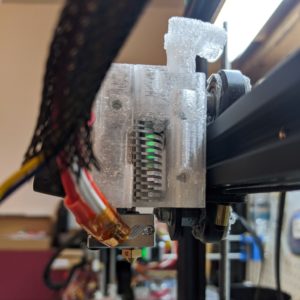
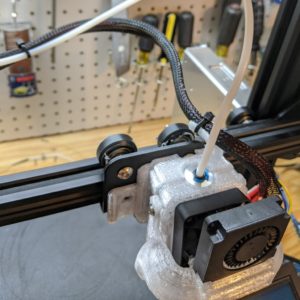
I removed the heatbreak fan by unscrewing the four screws holding it to the shroud. I set the screws and shroud aside for now.
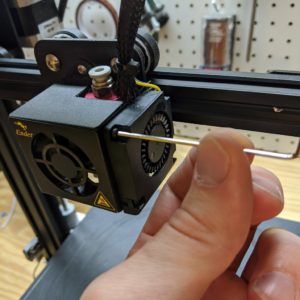
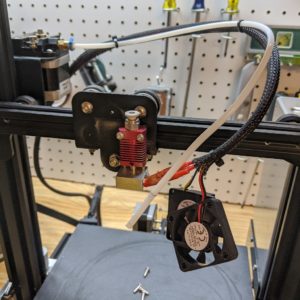
I loosen the set screw holding the heater cartridge in, and loosen the screw holding in the thermistor in place. I then gently and carefully pull them out of the hot end.

I remove the two screws holding the heatbreak to the x carriage. I set the screws and hot end aside for now.
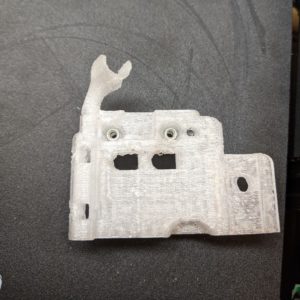
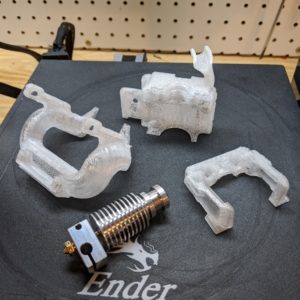
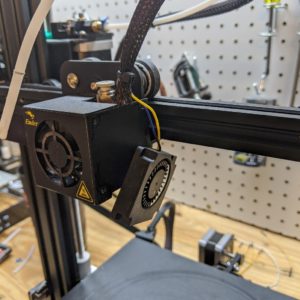
At this point I cleaned up any strings and blobs/zits I had on my printed parts. I also made sure the captive nuts stayed in place, and that the bolts had clearance where they needed to. Also that the E3D V6 fit snugly in the groove mount.
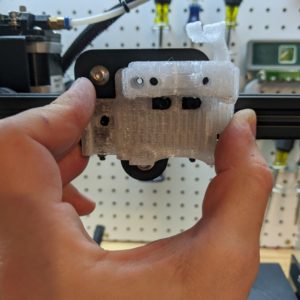
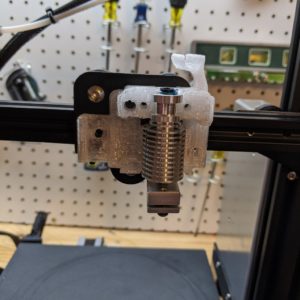
I made sure that the base mount lined up with the mounting hole location on the Ender 3 X carriage before fastening. Then I installed the E3D V6 in the groove mount, making sure the side with the heater cartridge was facing me.
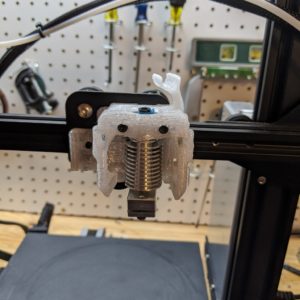
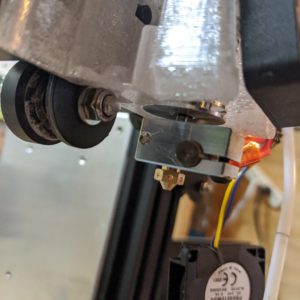
Next I installed the other half of the base, making sure the heatbreak was snug. Then I cut two of the zip ties on the wire, so that I could move the protective sheath back. I then fastened the heatbreak fan to the base using two of the screws that formerly held it to the shroud. It is important to know that the fan will blow air in the direction of the sticker, so I made sure to point the sticker side towards the heat break.
I Installed the heater cartridge, while making sure that the thermistor was able to make it inside the hot end as well. I tightened the set screw on the heater cartridge.
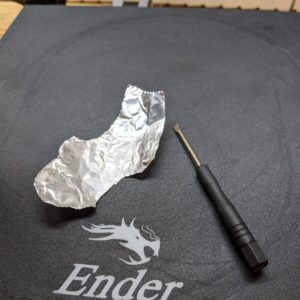
So I have had previous experiences with older printers using these glass bead NTC thermistors, as opposed to the cartridge style provided by e3d, and the results are that the temperature control is very inconsistent. Air does not conduct heat very well, so my solution is to gently pack tin foil into the cavity which will provide much more consistent themperature readings.

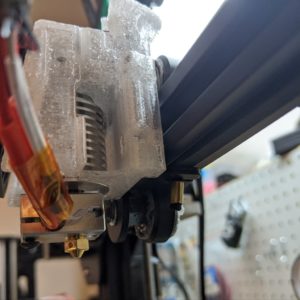
Next I put the cute little silicone sock on the hot end. I wish these were customize-able, you could have an ugly christmas sock contest.

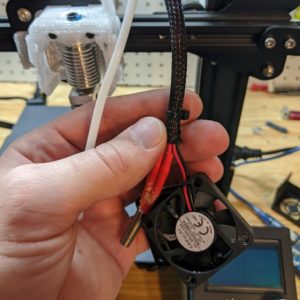
I used two of the original part cooling fan screws to secure the fan to the Bullseye duct. It was important to do this step now, as the bolts are not accessible once the duct is installed.
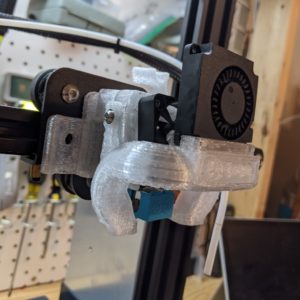
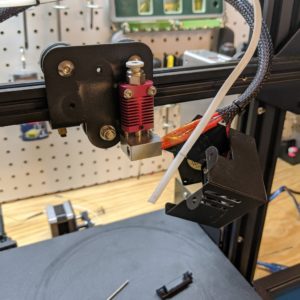
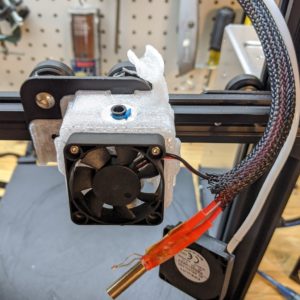
Next I installed the Fan Duct onto the base. I kept the screws loose so that I could set the height.
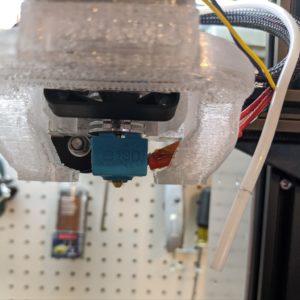
I made sure there was some clearance between the bottom of the nozzle and the fan duct before tightening the screws securing the fan duct.
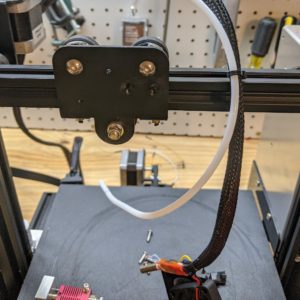
Lastly I reinstalled the bowden tube, and put the clip back on to secure it.